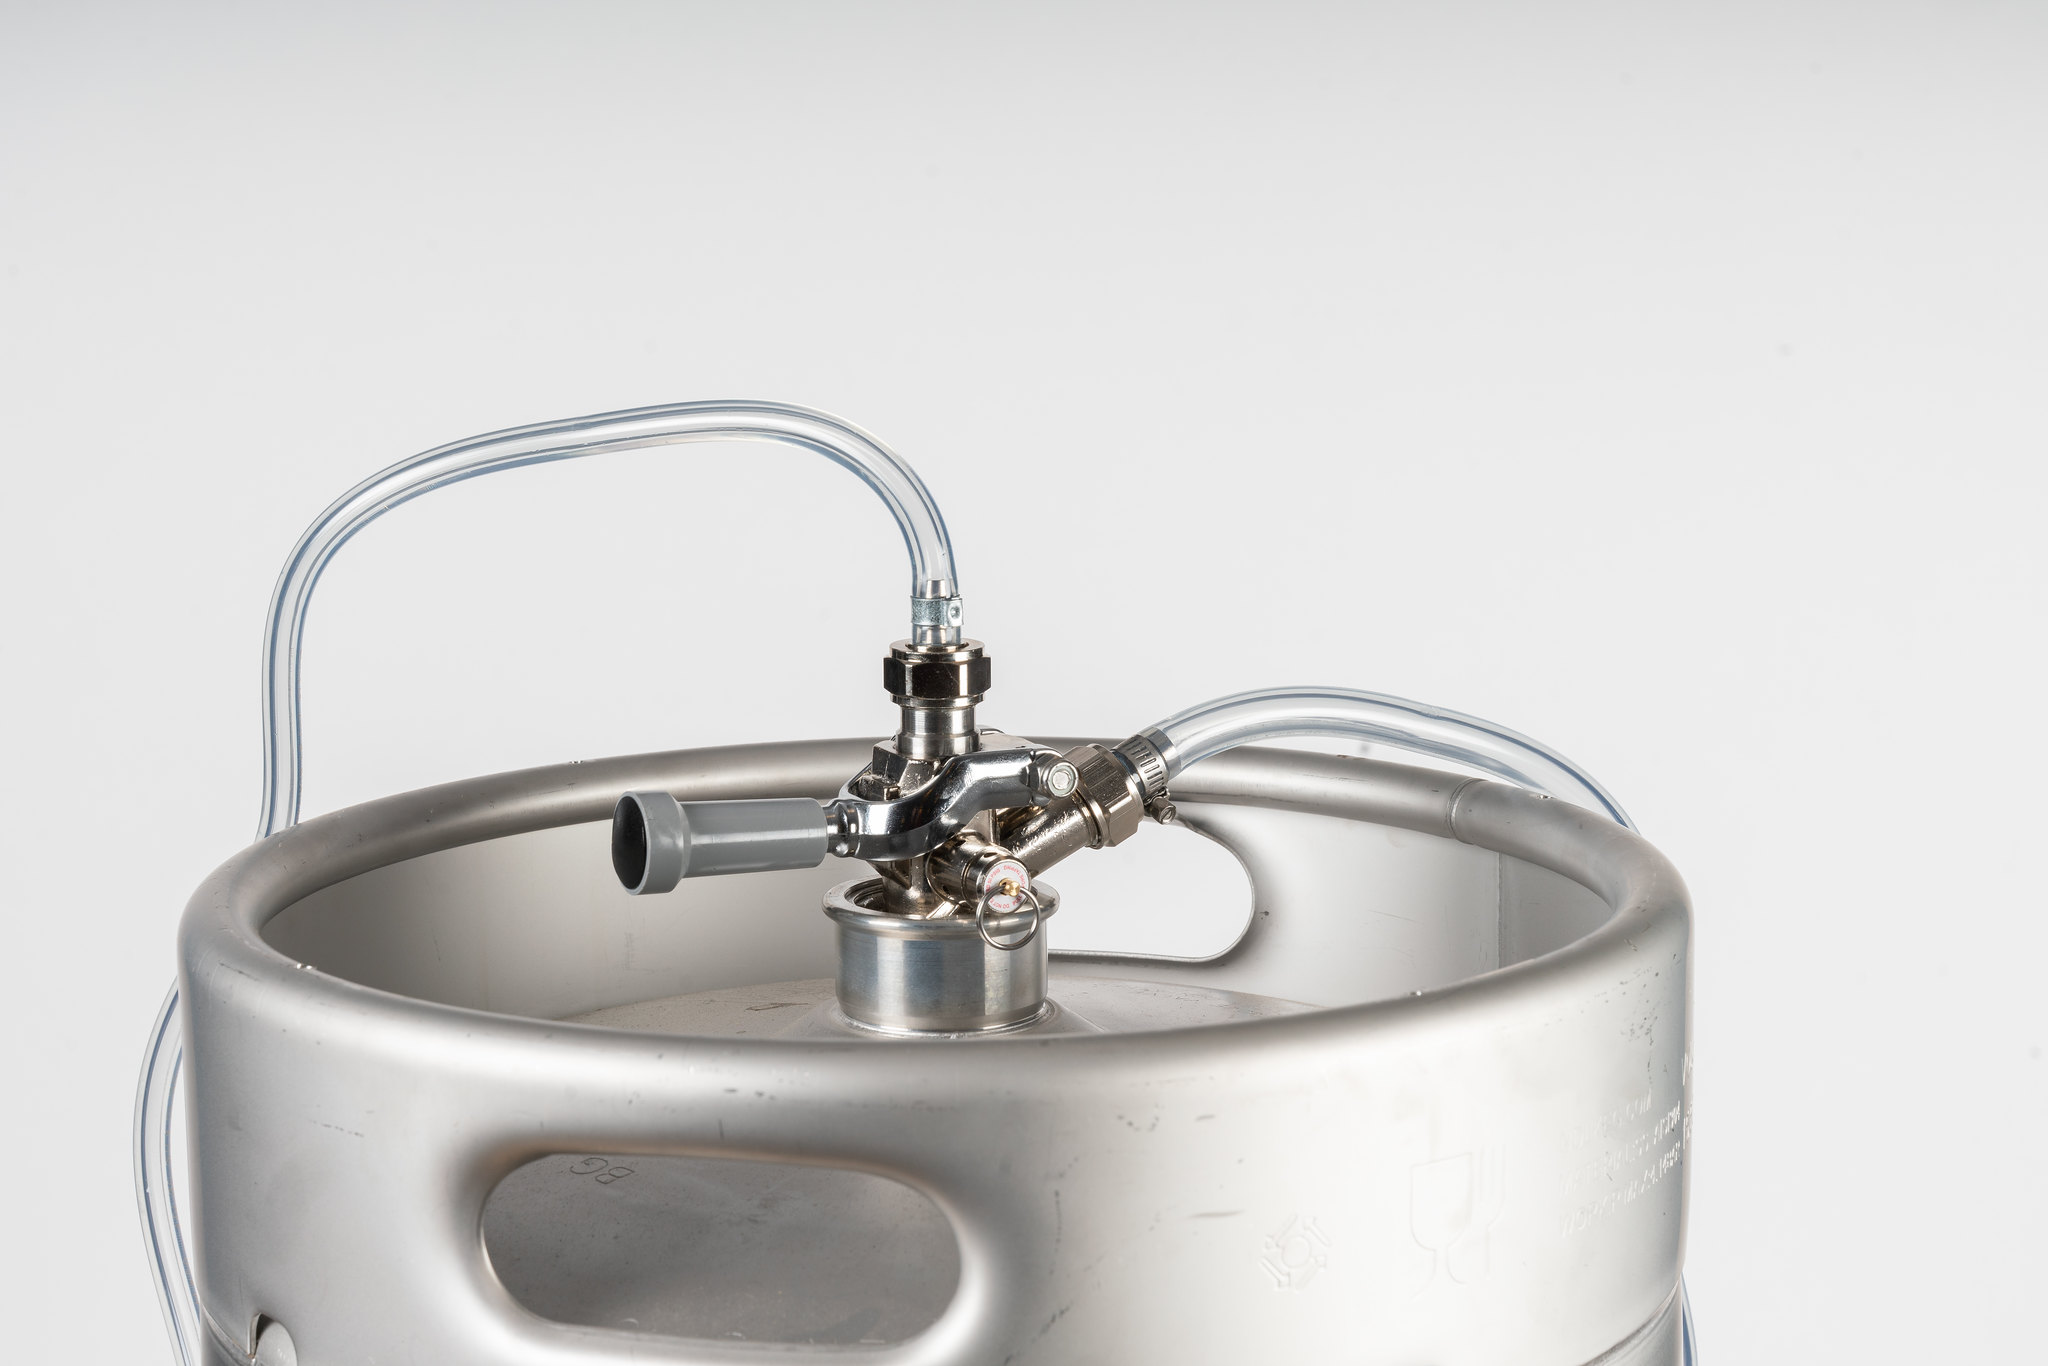

A rod and faucet draft beer system is a great option for tapping a keg at parties and events. While similar to tapping a keg with a party pump, it uses CO2 to push the beer from the keg, allowing it to last longer than if the beer was exposed to oxygen.
For those who may not already own a kegerator and are starting from scratch or prefer to have all-new components, we offer a complete rod & faucet system that gives you everything to tap a keg and start pouring. Let’s run through what comes in the kit and how to set it up.
Rod & faucet system components
- Dispensing Rod: This metal tube connects the keg coupler to the faucet and is what the beer travels through on its way to being poured. When connected, the rod stabilizes the complete system and securely holds the faucet in place.
- Faucet: A standard beer tap that releases a flow of beer when opened fully. A faucet handle is also included with our kit to allow you to open and close the faucet easily.
- CO2 tank: The 5-pound tank stores the CO2 that pushes beer out of the keg. On average, one tank can serve 5-7 half kegs. Note that the tank ships empty and will need to be filled. Local welding or fire extinguisher supply stores are often good places to fill it or check with a local beer distributor for recommendations.
- Double gauge regulator: This component lets you properly pressurize your system by regulating the CO2 pressure from the tank to the coupler.
- Keg coupler: Our kit includes a standard US Sankey D-System coupler, which attaches to the keg and connects to both the rod and air line. This coupler will work with most domestic and North American craft beers. Consult our Keg Coupler list to double-check compatibility before purchasing a keg.
- Air line: Vinyl tubing that carries CO2 from the air tank to the coupler. Clamps are included to help you achieve a secure connection.
How to set up rod & faucet system
Note: This system operates at a lower pressure (around 4 PSI) than standard draft systems, which typically run at 12-14 PSI. The following steps will guide you in setting it up correctly, ideal for short-term use at events. For longer-term dispensing, we recommend a standard CO2 system.
Step 1: Connecting the CO2 tank and regulator
Connect one end of the air line to the barbed fitting on the regulator. Screw the coupling nut on the regulator onto the cylinder valve outlet on the CO2 tank. Tighten with a CO2 tank wrench to ensure that it is properly tightened. This is the spot where most air leaks occur. Turn the shut-off valve at the base of the regulator to the "OFF" position. Open the drum cylinder valve all the way out (that’s the big screw on the face of the regulator). This is important because the cylinder valve seats in two places. Turn the adjusting screw clockwise until the correct pressure is indicated on the gauge (about 4 PSI).
Step 2: Attach the rod and faucet
Attach your draft faucet to the top end of the rod and tighten the connector securely using a faucet wrench. Then, connect the bottom end of the rod to the keg coupler. Ensure to use a draft beer washer when connecting the rod to the coupler to prevent leaks.
Step 3: Tapping the keg
Connect the other end of the air line to the proper input on the the coupler. Make sure the faucet is closed before connecting the coupler to the keg.
Align the coupler lugs with the openings at the top of the keg and press the coupler down until it fits inside the neck of the keg. Turn the coupler about 90 degrees until it locks into place. Once it is locked, pull out the handle and then push it down to engage it. If you see bubbles or foam leaking from the top of the keg, then your coupler is not attached securely. Disengage the coupler by pulling the handle out, then up, disconnect it from the keg, and then try again. On the side of your keg coupler is a safety/bleeder valve. Use it to release excess CO2 pressure from the keg.
Finally, open the beer faucet and let any initial foam escape. Then, open the regulator’s shut-off valve to apply 3-4 PSI of CO2 to the keg. Avoid activating the CO2 tank before bleeding initial pressure to prevent excessive foam.
Now, you can pour draft beer using your rod and faucet system.
Rod and faucet installation tips
- Store a CO2 tank upright, never on its side. Keep the tank chained to a wall to prevent it from tipping over.
- Be careful with the regulator; its gauges are somewhat delicate and can break easily.
- This kit is often used in an 8-48 hour special event type application. Keep the keg as iced down as possible. Warm draft beer will pour foamy, which leads to waste. Keeping your beer between 32-36º when using this kit will be ideal with about 4 lbs of applied pressure. Temperatures between 36-40º will need about 3 lbs of applied pressure.
- When pouring the beer, completely open the faucet, not partially, to receive a proper flow.
- Just like any draft beer system, cleanliness is of utmost importance. Clean the entire system monthly or immediately after finishing a keg. This includes removing the faucet, disassembling it, and cleaning the parts with a brush. We carry a selection of draft beer cleaning products to help you maintain your system. Check out our guide to cleaning draft beer systems for more information.
Tags:
Kegworks
Kegworks has been transforming hospitality spaces since 1998 with expertly crafted architectural metalwork and professional draft beer equipment, helping designers, architects, and bar professionals bring their visions to life.


Leave a Comment