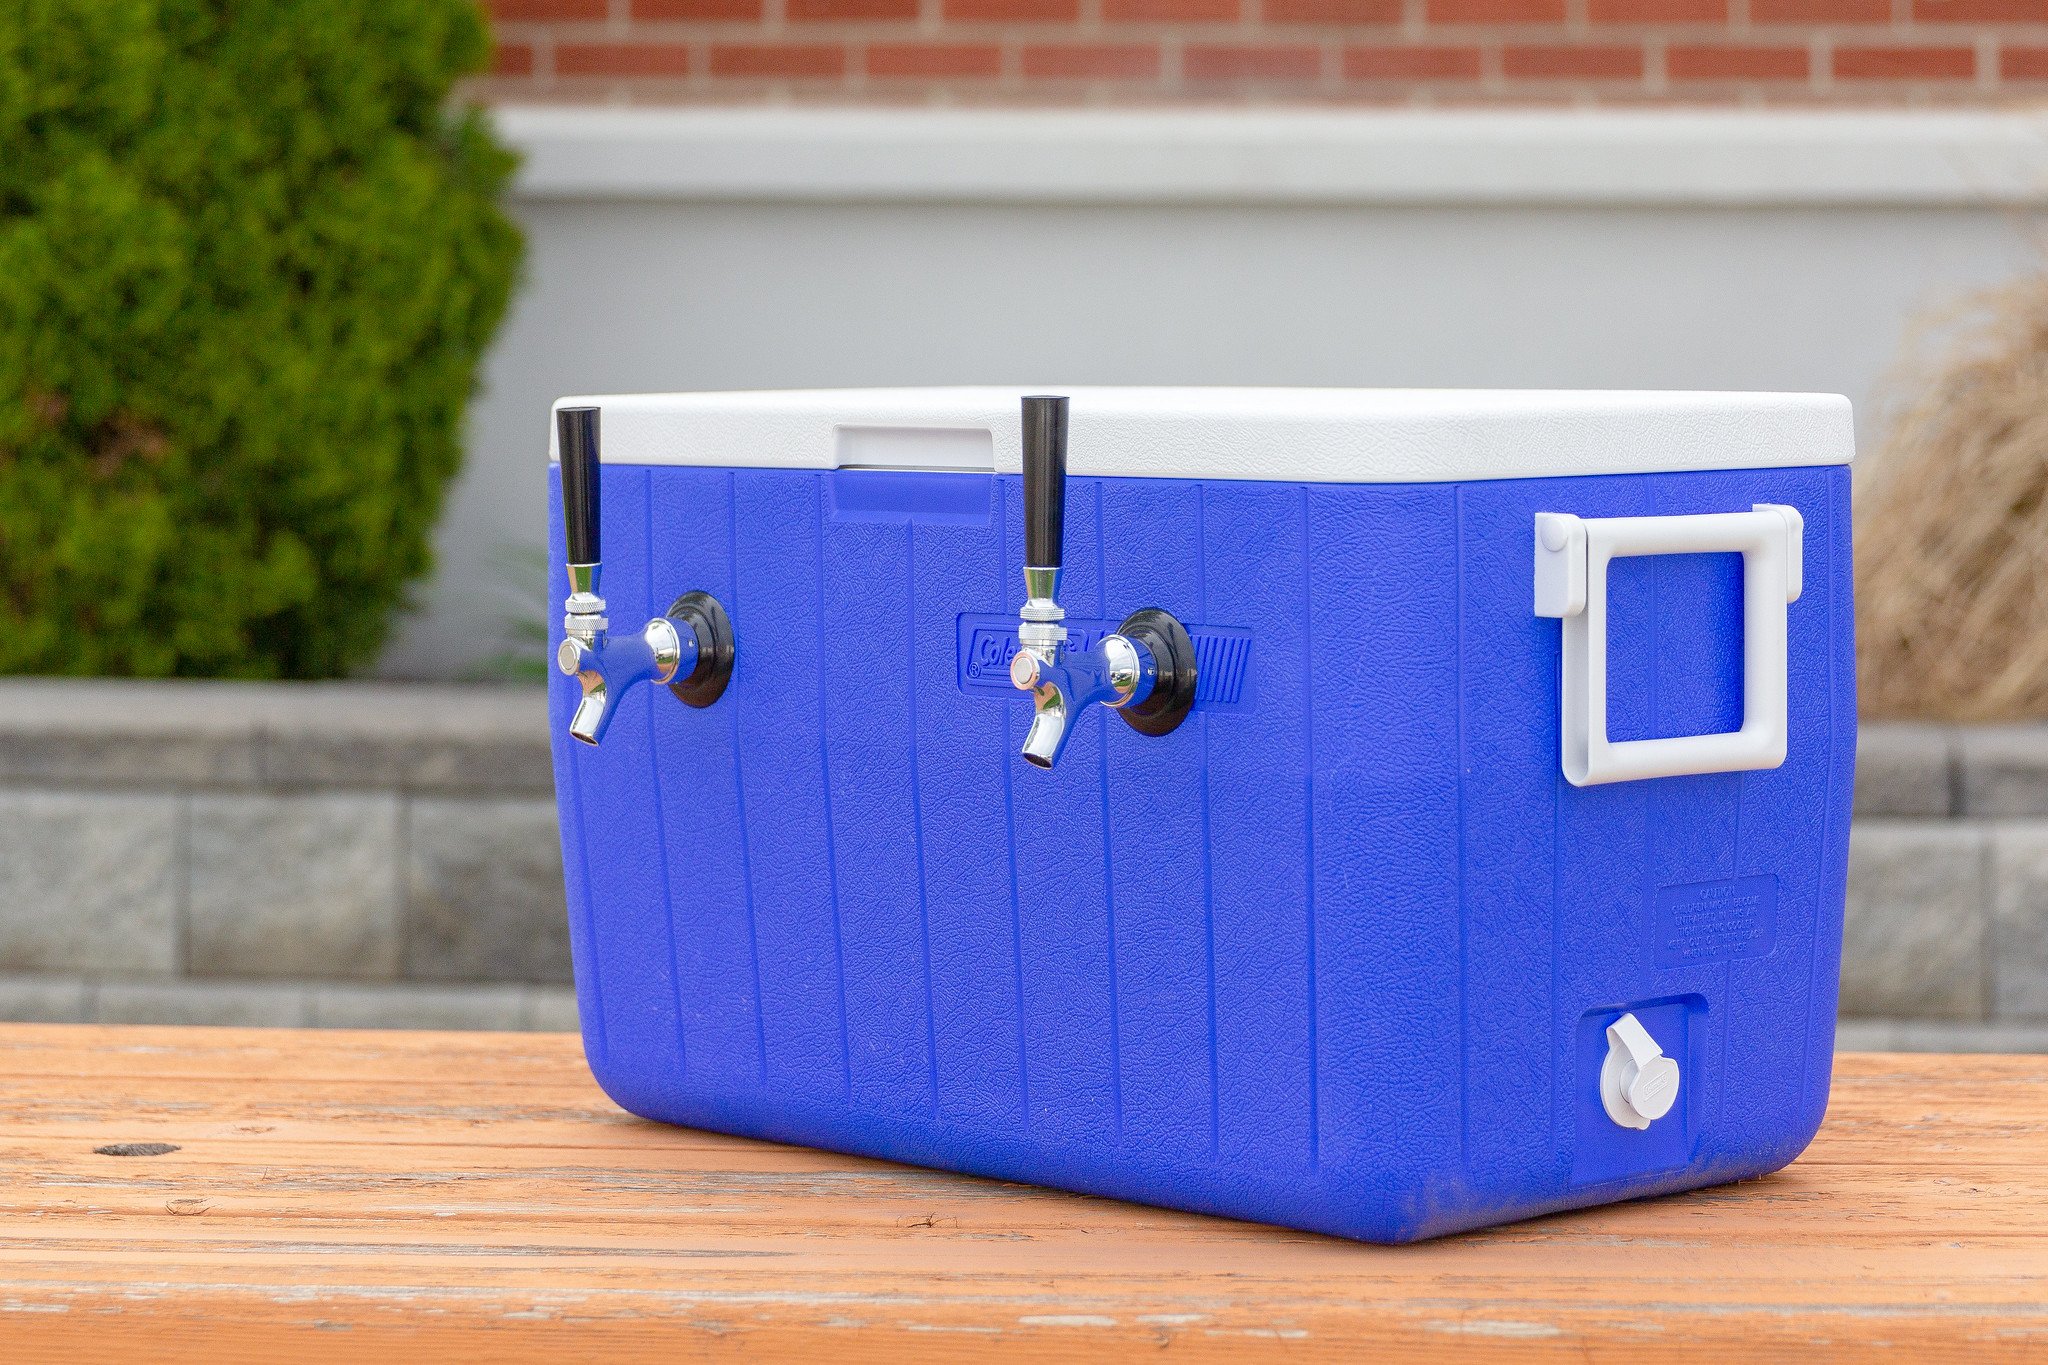
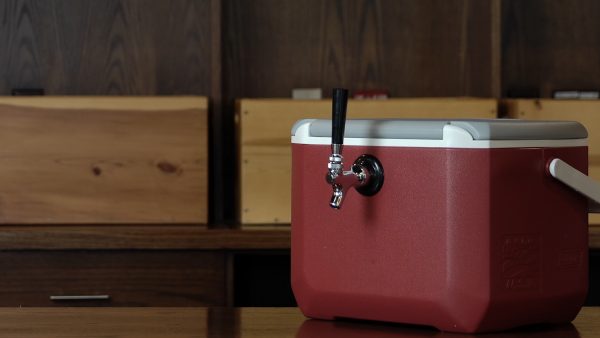
Follow our DIY jockey box instructions, and you’ll have the best "mobile device" a beer lover could ever own.
A jockey box is an excellent solution for serving draft beer on the go. It does not require any power to operate, unlike a kegerator, while the beer stays fresher for longer than using a keg pump. They are ideal for high volume pouring at events, including parties, festivals and promotional samplings.
You could just buy a jockey box, but a more affordable and rewarding option is to build your own jockey box. Just pick up a suitable cooler (you probably have one lying around), and you can turn it into a DIY jockey box beer tap cooler.
Parts You’ll Need
- A cooler large enough to comfortably fit coils submerged in ice bath (we used a 16qt Coleman cooler)
- Stainless steel jockey box coils – size and shape of your choice (our kits come with a pair of hex nuts, ferrules and grommets included)
- Faucet shank (ours comes with the lock nut included)
- Cooler coupling (ours come with the flange & gasket included)
- Draft beer faucet
- Tap handle of your choice
These parts are available individually or you can purchase a jockey box conversion kit to get everything you need to start your project.
Tools You’ll Need
- Cordless/power drill
- Drill Bit
- 1” hole saw
- Spanner wrench
- Hex nut wrench
- Sharpie
- Tape Measure
DIY Jockey Box Step-By-Step Instructions
Step 1: Measure & Drill Holes
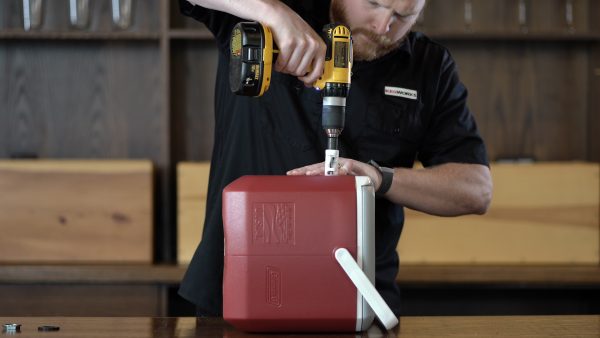
With a sharpie and tape measurer, mark where you’d like to drill your holes on either side of the cooler. Then drill holes large enough to fit both your cooler coupling (back of the unit) and beer shank (front of the unit).

Step 2: Connect shank & faucet on front
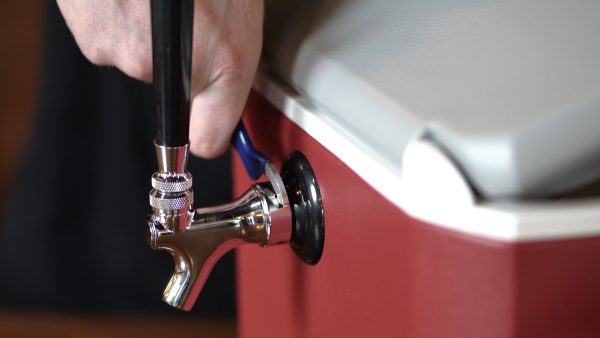
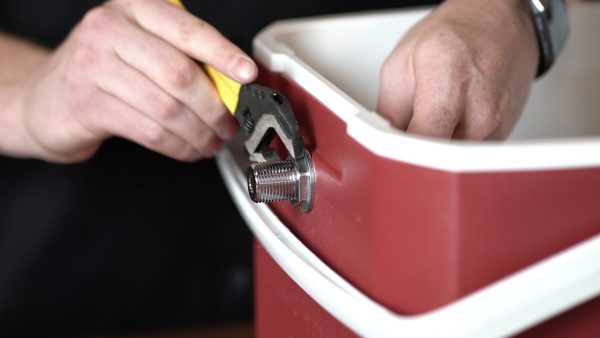
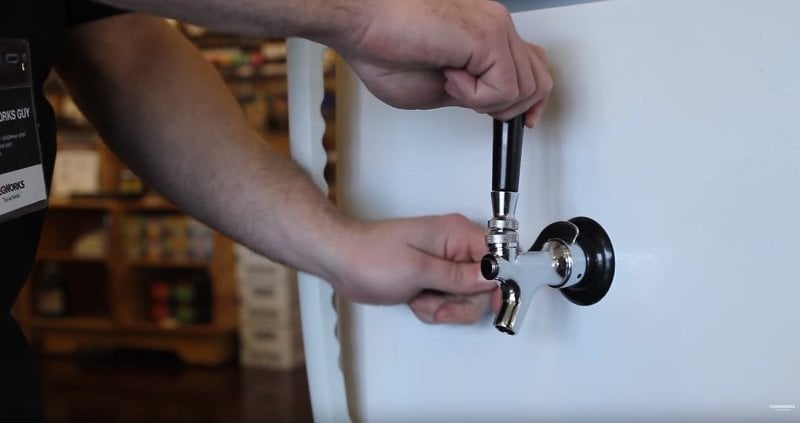
Firmly attach the shank to the jockey box with the lock nut against the wall of the cooler. Attach your faucet with the spanner wrench. The tap handle will screw on atop the faucet.
Step 3: Connect cooler coupling on back
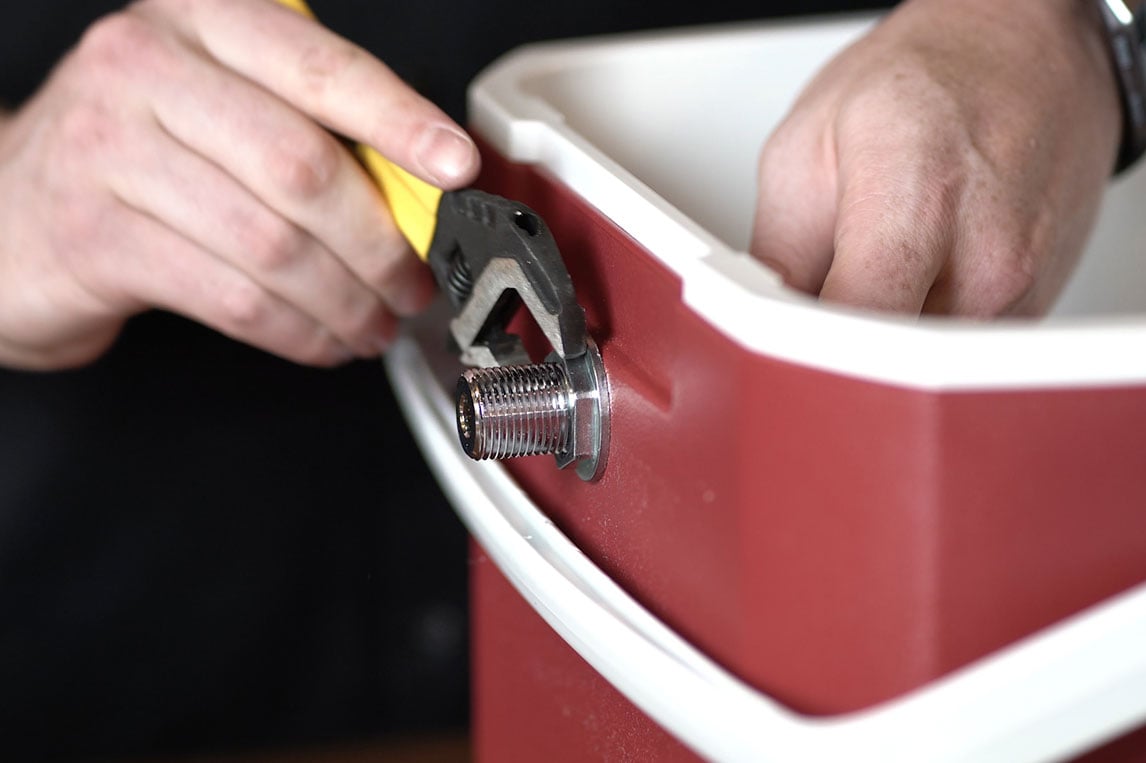
Firmly attach the cooler coupling with the lock nut. This is where you will connect your beer line.
Step 4: Connect coils
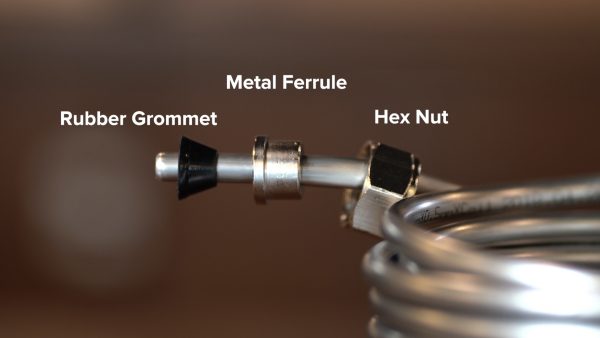
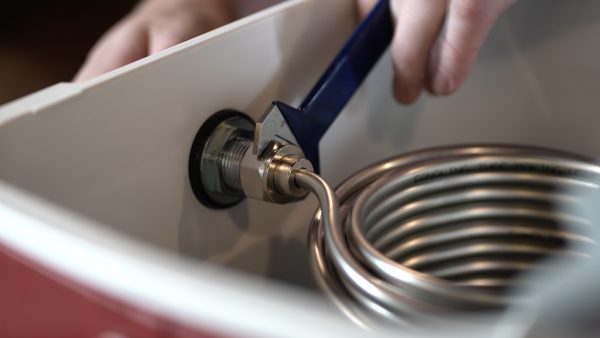
Slide the hex nut onto either end of the coil (we used 50’ stainless steel coil for this demonstration), followed by the metal ferrule, and finally the rubber grommet. Connect the jockey box coil to each side with the hex nut wrench.
Completing your setup
You will want to run some water through your jockey box once its assembled to check for leaks. If everything is working properly, then you are ready to connect your keg, beer lines and CO2. Before you start pouring check out our helpful jockey box instructions on operating your jockey box.
Take your DIY jockey box project a step further and customize the outside of your cooler with the logo of your favorite brewery or sports team or build a jockey box cover to place over it. The possibilities are endless to make a jockey box truly yours or design a great one of a kind gift for the beer lover in your life.


Leave a Comment