
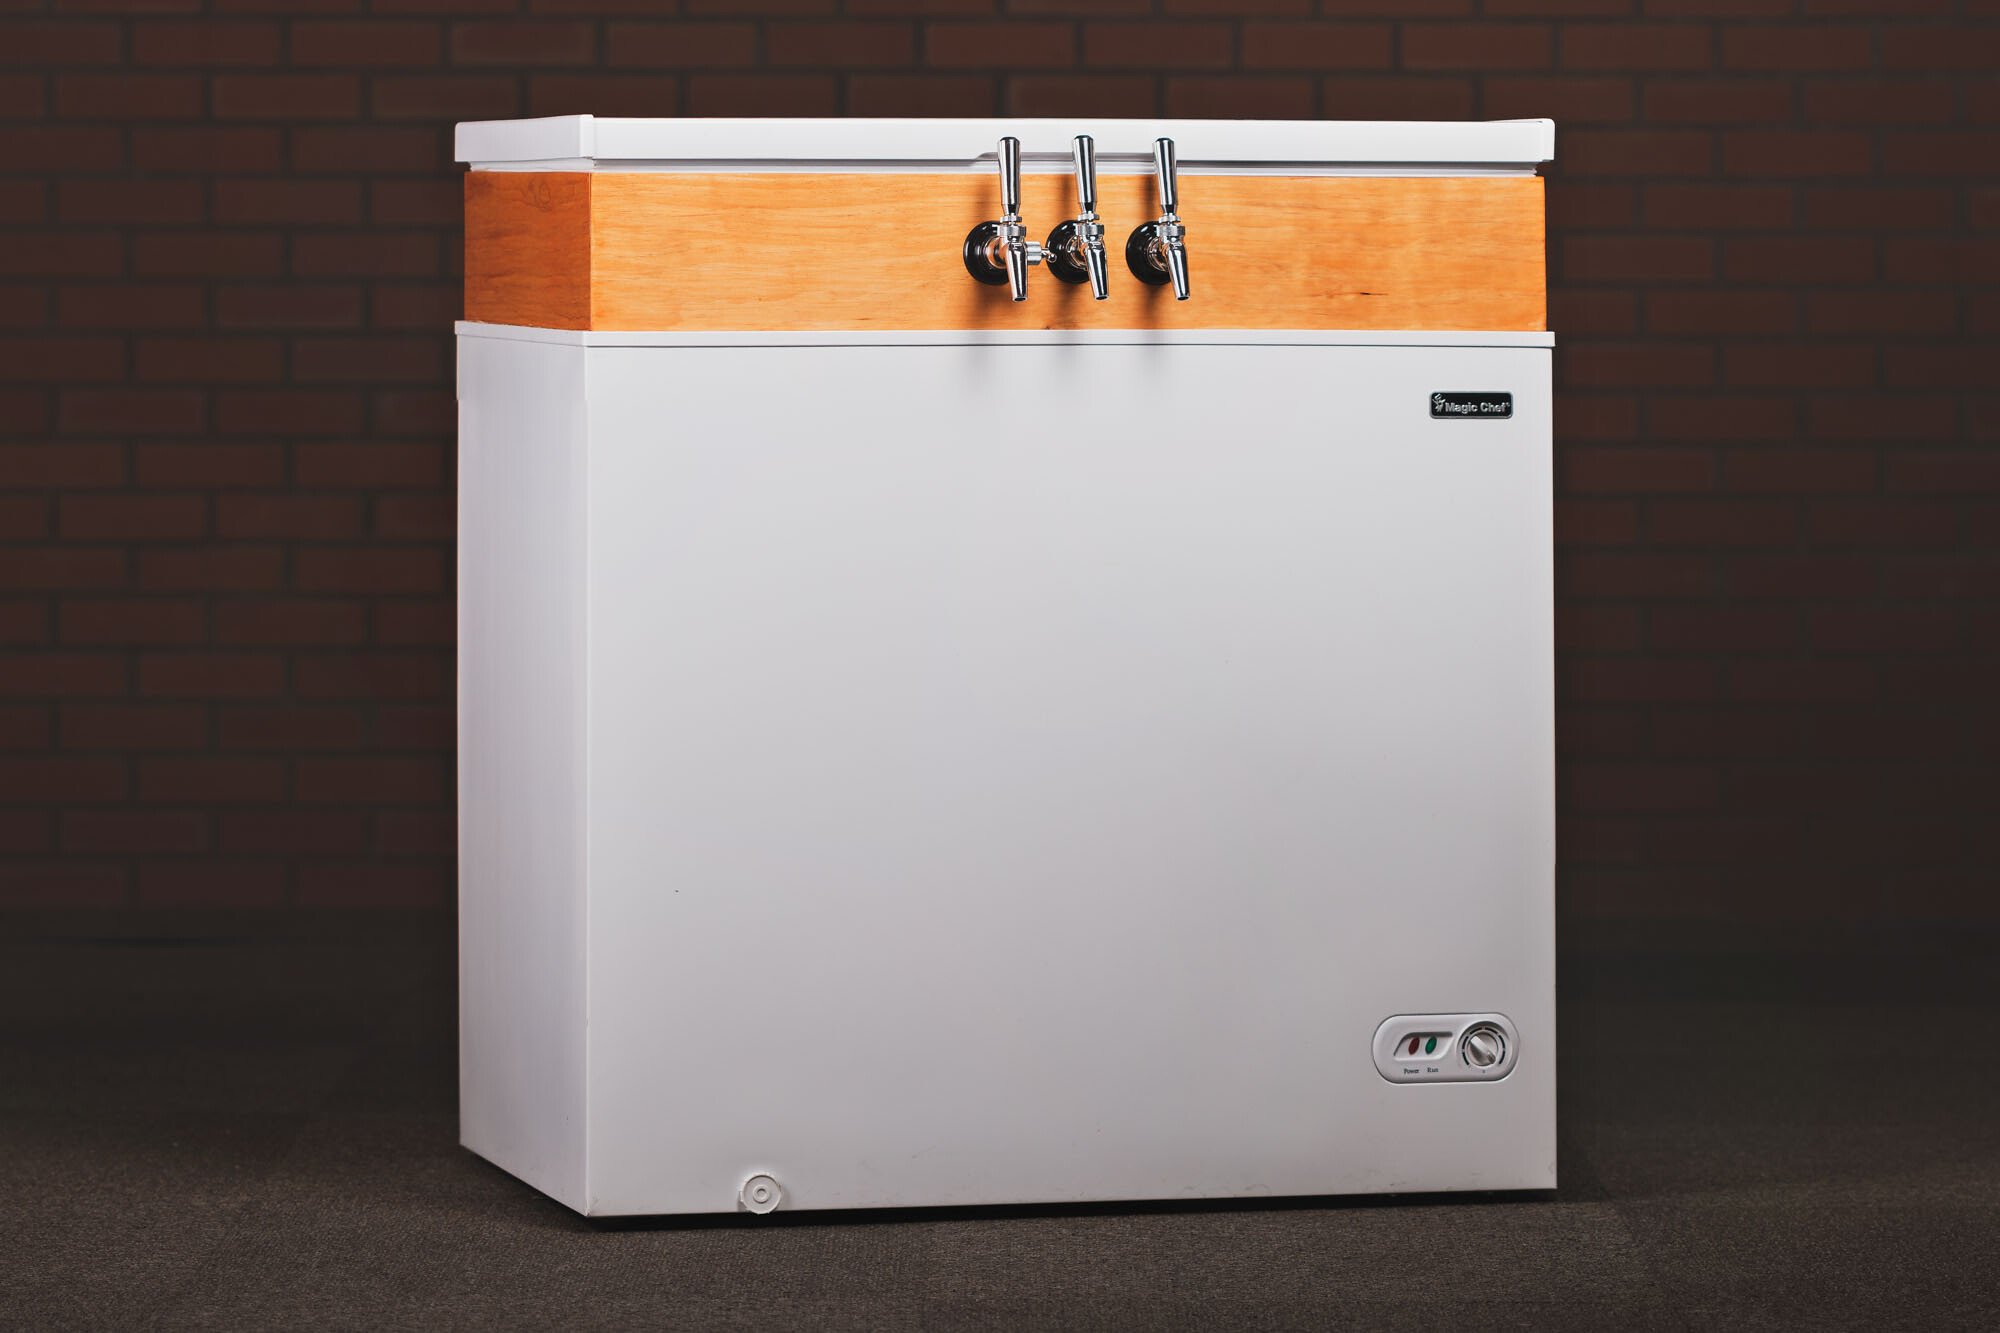
Dispensing spirits is a breeze when you add a Sidebar Electric Beverage Dispenser to your home bar, boat, or RV. We’ll take you through the process of how to install a Sidebar.

The Sidebar Liquor Dispenser allows you to pour up to five non-carbonated and pulp-free liquids (i.e. booze) with just the push of a button. You store your spirit bottles neatly in a nearby (up to 10’ away) compartment or cabinet while the Sidebar pumps their contents through vinyl lines to a handsome spout resembling a kitchen sink.
Adding the Sidebar to a bar or wherever you make drinks is a great space-saving solution for pouring and storing liquor, whether you’re adding them to a cocktail or doing shots. You can even fine-tune the amount of liquid dispensed per button push can with the turn of a knob on the unit to meet your imbibing needs.
How to Install a Sidebar
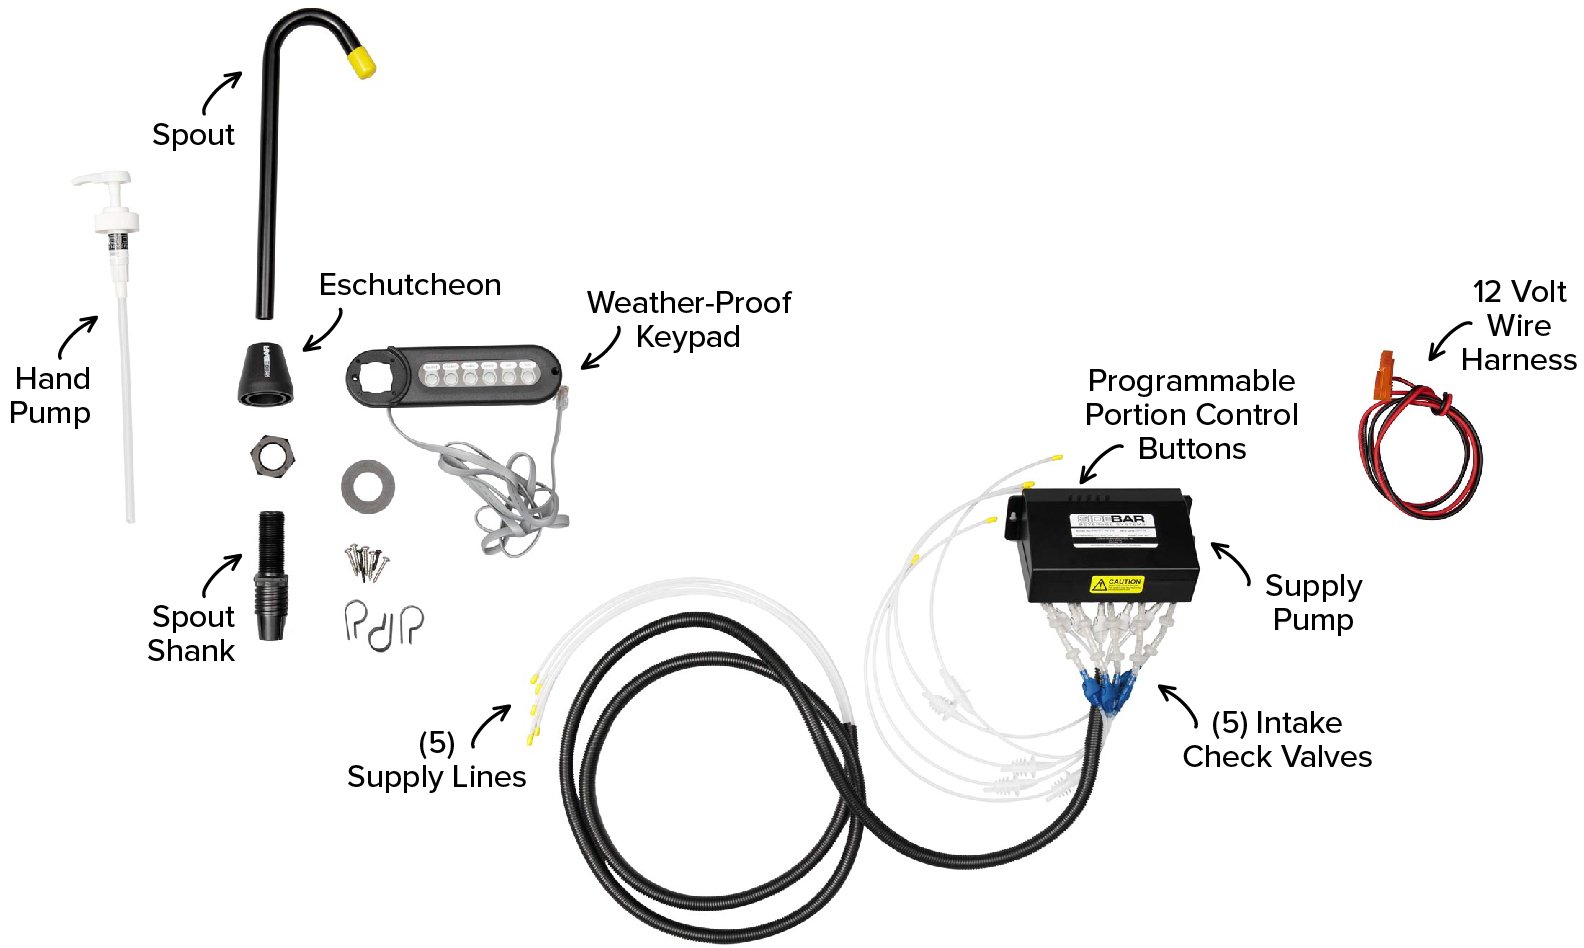
Sidebar Assembly & Parts
First, let’s look at what comes with your Sidebar unit. We’ll be referencing these parts throughout the installation instructions.
Tools For Installation
- Drill
- Phillips head screwdriver
- Knife (to cut tubing)
- Pitcher of water (for priming pump)
- Glass or bucket
- Vacuum
Sidebar Installation Instructions
Mounting the keypad & base
Use the mounting template from the back of the product manual to help you install the keypad. Remove the template from the manual and position it where you want to install your Sidebar. Ensure the guides for the two holes are on the left when taping it to your installation surface.
Drill the holes as indicated on the template by using the appropriate bit for your surface. The hole for the spout is 1” in diameter, and the hole for the control cable is 5/8". Pro tip: Keep a vacuum handy to clean up any dust.
Insert the threaded spout shank into the larger hole, and feed the control cable through the smaller opening. Place the keypad over the shank, and secure it using the mounting screws provided. Be sure to use the shorter of the two screws on the spout side.
Secure the shank to the surface by using the provided nut and washer. Do not overtighten the nut to prevent the keypad base from cracking. Finally, screw the spout escutcheon onto the top of the shank loosely.
Installing the pump unit
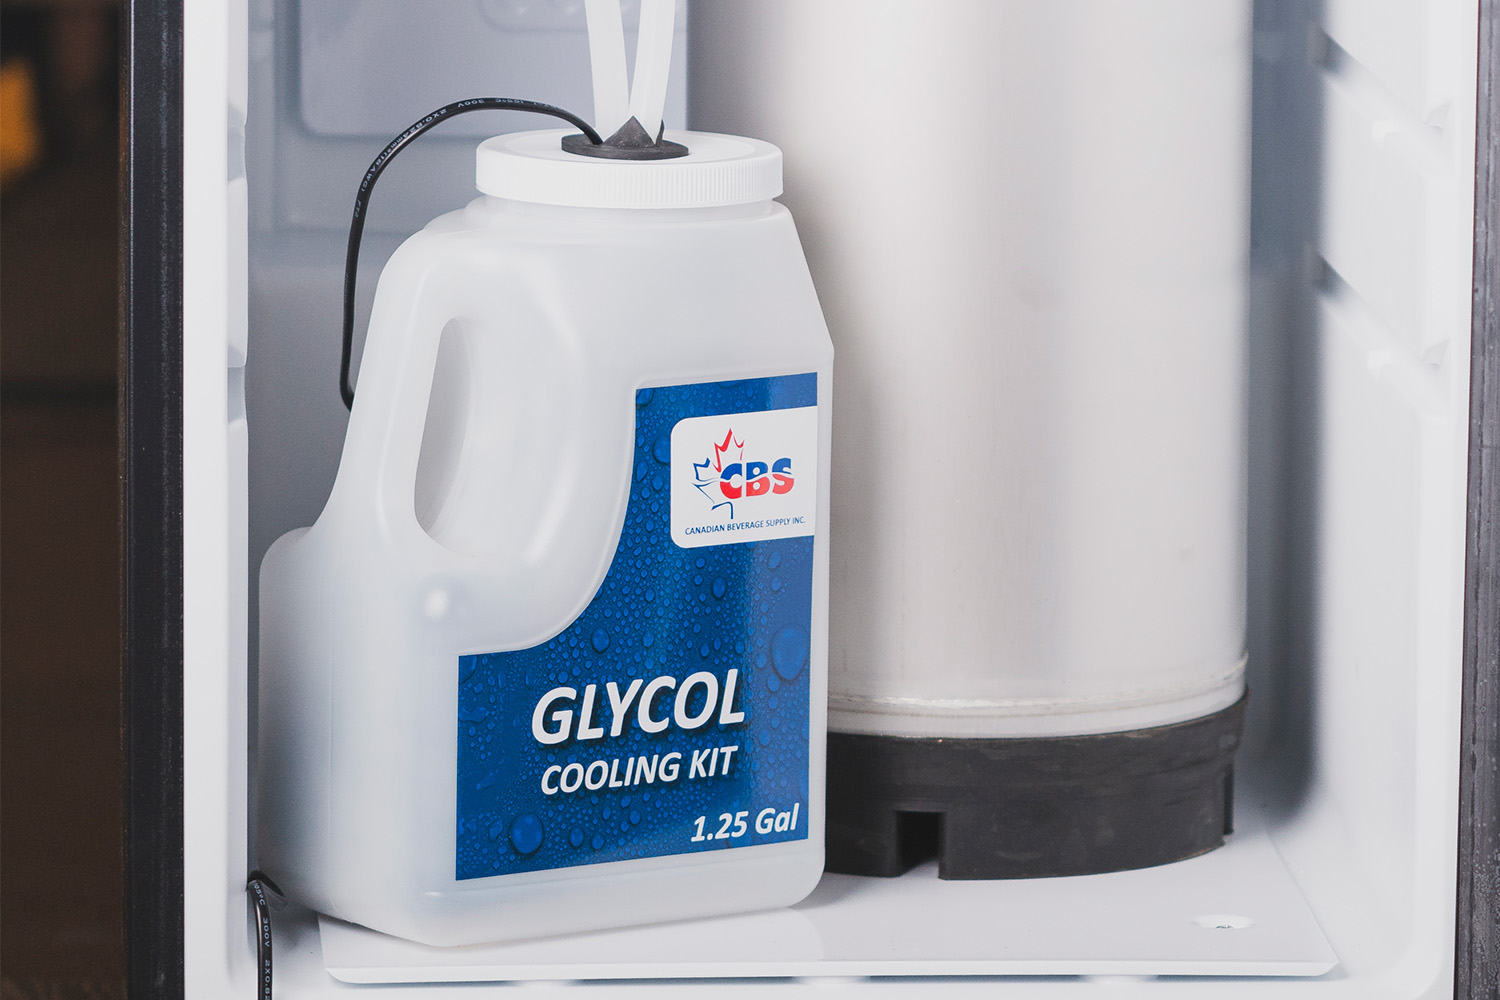
The pump unit is typically mounted inside of a cabinet, storage closet, refrigeration unit, or hidden compartment. It can be installed at any angle or in any direction, but it must be below the keypad and above the supply bottles. This area should not be exposed to excessive moisture.
Mark the location where you want to install the pump unit, then pre-drill holes. Insert the screws into the holes, slip the pump unit over the screws, then tighten them down.
Connect the color-coded quick-connect fittings from the supply lines to the pump (blue to blue & gray to gray). Feed the discharge lines up through the shank. The discharge lines are the long lines with the black conduit. Insert the discharge lines sticking out of the shank into the bottom of the gooseneck spout and feed them through until they extend out of the other end.
Insert the spout into the shank and escutcheon and tighten the escutcheon by hand. Using a sharp knife, trim the lines to stick out about an inch past the spout, then use your thumb to recess the lines into the spout.
Use the provided hose clamps to secure and coil the excess discharge lines. We do not recommend cutting any excess length from the lines.
Connecting the control cable & power supply
The Sidebar comes standard with a 12-volt cable for hard wiring into a boat or RV, but we utilized the optional AC Adapter to power our unit. Connect the control cable and power cable to the pump unit. Press the power button on the keyboard and confirm it lights up.
Preparing your liquids for dispensing
Place the five supply lines into a pitcher of clean water. Then place a glass under the spout and press each of the dispensing buttons until water steadily flows through.
Remove the supply lines from the pitcher and insert them into your desired spirit bottles. Press each corresponding button momentarily to purge the remaining water from the lines.
Adjust the pre-measurement knobs on the unit to set your desired amount of liquid dispensed. When turned to the fully counterclockwise position, our unit dispensed exactly 1/2 an ounce.
Finally, you can use the optional sticker pack to re-label any of your lines to identify the correct spirit or liquid.
And just like that, you can have five of your favorite spirits available at the touch of a button.
Extra options for your Sidebar
The Sidebar is available in a black base with a black or chrome spout, or a white base with a chrome spout. You can also purchase a gold or chrome spout separately to change the look.
In addition to the optional AC adapter we used earlier, there is also a High Capacity Storage Rack with five 1-gallon containers. Each container holds as much liquid as two 1.75 liter bottles with room to spare, so you can keep the party going all night.
Do you have any tips for installing the Sidebar Beverage Dispenser? Leave them in the comments. We’d love to see how and where you’re using your Sidebar! Tag us on Instagram or Facebook with an image or video of your unit in action.
Kegworks
Kegworks has been transforming hospitality spaces since 1998 with expertly crafted architectural metalwork and professional draft beer equipment, helping designers, architects, and bar professionals bring their visions to life.
Leave a Comment