

Welcome back to Homebrew 101: Brewing Your First Batch, KegWorks' blog series about crafting an all-grain homebrew. Our Senior Print Designer and resident new brewer, Collin Corcoran, has already talked about building his mash tun and making his yeast starter in past installments of this blog, but today is when things really heat up. Why's that? Because today is when we talk about Brew Day! Let's get started...
Recipe Generation
Before I get started talking about the mash in, I wanted to make a quick note about recipe generation. For my first batch I created my own recipe because...well, honestly, because I just wanted to. I'm the kind of person that feels like I have to create something from scratch instead of augmenting a recipe found online or from the How to Brew book. Obviously, this was my choice and I'm happy I made it, but there's no shame at all in following a recipe. Just do what's right for you and what you think you can accomplish for your first batch. You've got a whole lifetime of brewing to develop your own recipes.
The recipe I created was for the ever-popular India Pale Ale style, which has a light assortment of specialty malts and a couple of bittering and aroma hops. I knew I wanted the beer to have a nice amount of body and a slight touch of sweetness too, so I also added a pound of Flaked Barley and 1 cup of pure organic honey. For your reference, the rest of the recipe is listed below, please feel free to try it out and make your own tweaks. Just please let me know how it turns out!
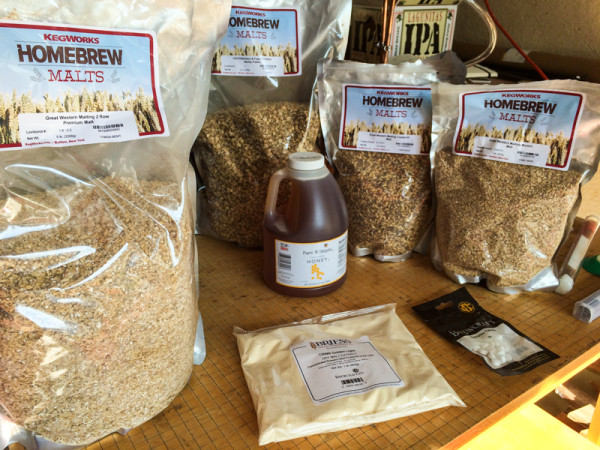
Genesis IPA by Collin Corcoran
Grain Bill:
Great Western Malting Premium 2-Row Malt - 10 lbs.
Great Western Malting Crystal 60 Malt - 1 lb.
Great Western Malting Munich Malt - 1 lb.
OiO/Gilbertson & Page Toasted Barley Flakes - 1 lb.
Hops:
Hops Pellets - Domestic - Willamette - 1 oz. (45 minutes)
Hops Pellets - Domestic - Cascade - 3 oz. (60 minutes, 30 minutes, and 15 minutes)
Yeast:
Wyeast 1450 – Denny’s Favorite 50 - (Made from our Yeast Starter Blog Post)
Recipe Specifications
--------------------------
Batch Size: 5.25 gal
Boil Size: 6.5 gal
Estimated OG: 1.062 SG
Estimated FG: 1.021 SG
Estimated IBU: 52 IBU
Efficiency: 80%
Boil Time: 60 Minutes
(Oh, by the way, I named my brew "Genesis IPA" to pay homage to the fact that this was the beginning, the origin of my new homebrew hobby. But I know what you're thinking, and, the answer is no...I am not a Phil Collins fan).
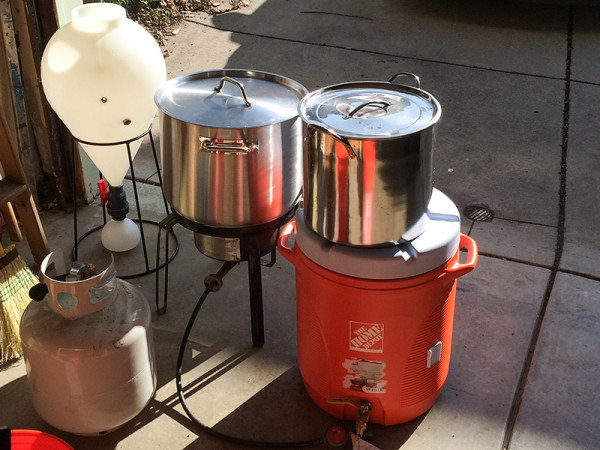
Let the Brew Day Begin!
The first step in the brew day process is mashing. Mashing is basically just adding your ground up grains to your mash tun and steeping them for one hour.
To start the process off we need 155 degree water in a 5 gallon pot. Please note that most townships add chlorine to the tap water to make sure it kills any bacteria. Unfortunately, chlorine and beer don't really mix. At my house, I ran 9 gallons of water through a water filter and let it sit out in the garage for 2 days to let it aerate a bit before brewing. Then I added the water and ½ a Campden tablet to get rid of any residual chlorine. I strongly recommend filtering your water (or buying purified water) in this same fashion.
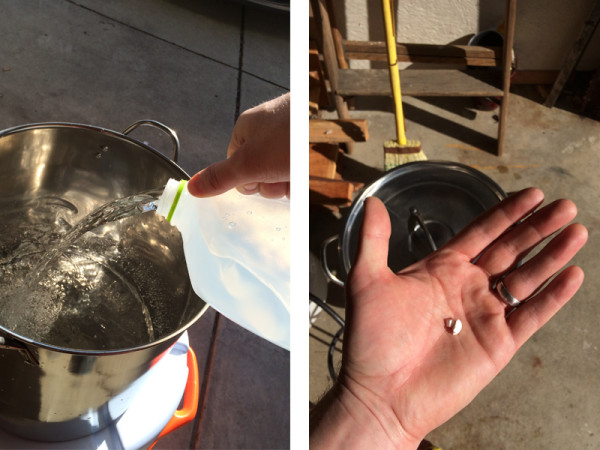
Once your water has reached optimal temperature (155 degrees Fahrenheit), take one gallon and place it into your mash tun. Let it sit in there for about 10 minutes to heat up the tun so that you don’t lose too much heat when you mash in.
Next I took my bags of grain, measured out the amounts needed for the recipe, and added them to a bucket.
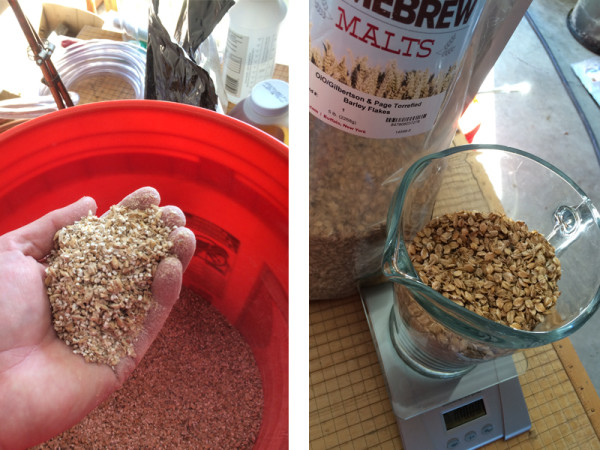
Then I took my mash tun, dumped out the pre-heated water, and added the remaining four gallons of 155 degree water. At this point, it's time to “dough-in” (the process of slowly adding your crushed grains into the water). Some brewers debate adding water to grain, versus grain to water, but really, either way should work about the same. I added the grain to the water because I felt like this allowed me to slowly stir in the grains so that there were no large clumps forming.
Once your grains are completely submerged, stir the tun a bit to make sure you have sufficiently mixed the grains with the water, then cover the mash tun and wrap it with a blanket so that minimal heat escapes. You'll want to let this mixture sit for about an hour, so go ahead and set your timer, then go make yourself a quick breakfast.
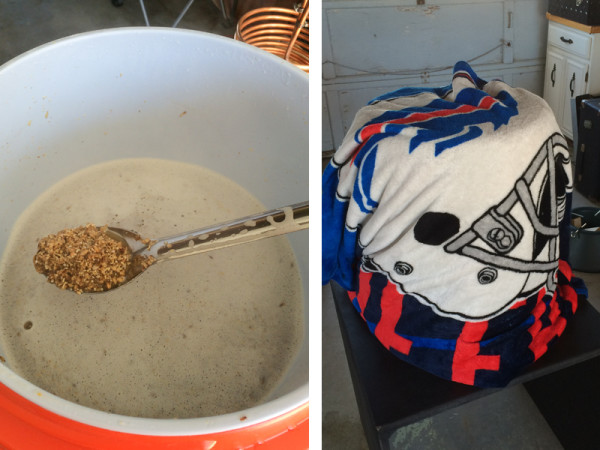
After about 35 minutes, it's a good idea to start heating some extra water for sparging (rinsing the grains to clean off any residual sugars). Your sparge water should be roughly 170 degrees to help ensure that all the remaining sugars are pulled out of the grains.
I start heating my extra water for sparging (rinsing the grains multiple times to clean off any residual sugars.) We want to get the sparge water up to 170 degrees to really pull out the remaining sugars left over in the grains. So that gives you about 25 minutes to heat up your remaining 5 gallons to temperature. Meanwhile, after your one-hour mash, hook up a piece of vinyl tubing to you mash tun valve and pull a bit of the wort out of the cooler and into a pitcher to get some of the sediment out of the first runnings. This process is called Vourlaf. You will need to pull about 2 liters each time then place it back into the tun. For your reference, I initially Vourlafed three times to ensure the wort coming out was clear of sediment.
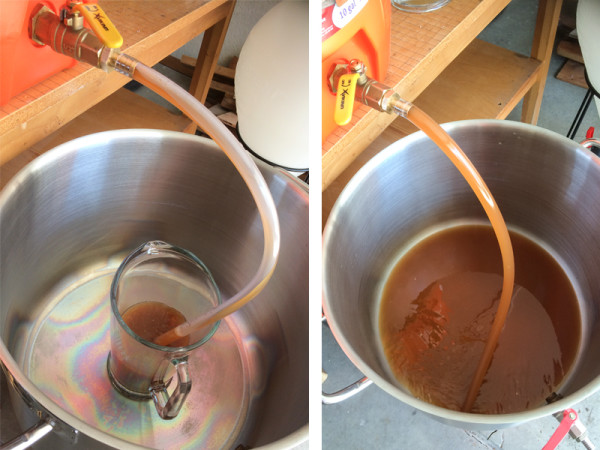
Once my 5 gallons of sparging water were heated up, I added those to the mash tun, let the wort sit for 10-15 minutes, and then Vourlafed a few more times. At this point, my wort is about as sediment-free as its ever likely to get, and it's time to transfer it from the mash tun to the kettle to start the boil (which we'll talk about more in-depth in the next installment of this blog)!
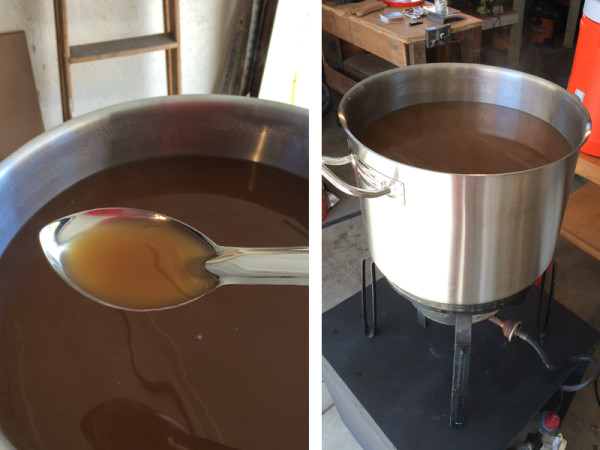
OK, that wraps up today's post, but as always, if you have any questions about my process (or about graphic design for that matter) I'm happy to help. Just leave a comment on the blog or on our Facebook page. Cheers!
Next up in Homebrew 101: the boil.


Leave a Comment