

Here we are again with the latest installment of Homebrew 101: Brewing Your First Batch, our blog series all about diving into the world of all-grain brewing. If you've been following along, then you already know that the man behind the kettle is Collin Corcoran, KegWorks' Senior Print Designer and resident newbie brewer. In the previous posts, Collin has discussed building his mash tun, making his yeast starter, and mashing in on brew day. Today's topic: the boil! Let's get started:
The Boil!
If you read my last post about mashing in, you know that it ended just as I transferred my freshly-sparged wort into the kettle. Now it's time to heat things up! Take your kettle of wort, place it on your burner (whatever you're using...it could be your stovetop, a propane burner, or any other source of heat), and get the whole thing boiling.
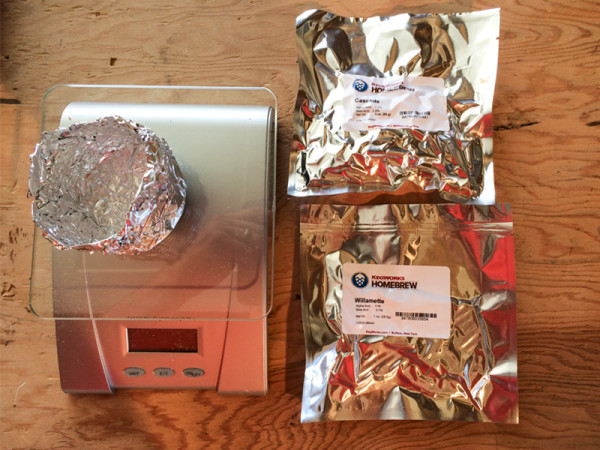
Typically, given the amount of liquid, it should take about 25 minutes before it starts really boiling. While you're waiting for that to happen, it's a good time to weigh out your hops (into one ounce increments) and get those ready to add to the mixture. For my recipe, I knew I wanted some nice bittering and a noticeable hop aroma and flavor, so I selected Willamette and Cascade hops.
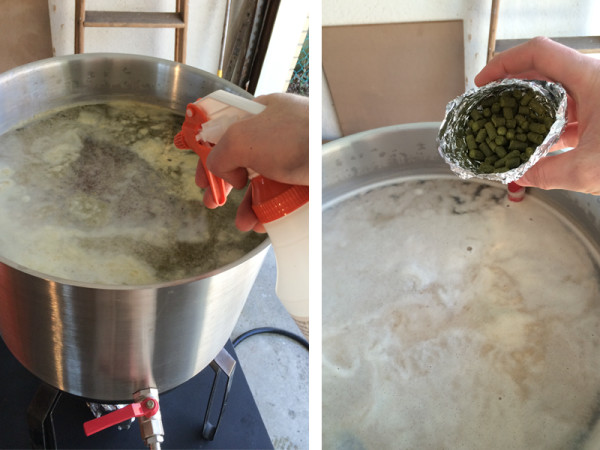
Right as the wort started to boil, I added an ounce of Cascade hops. This hop addition (right at the start of the boil) is what will provide a bitter flavor. Once you add those hops, set a time for 60 minutes, as that's how long you'll want to boil your wort.
During the boil, you'll systematically add the rest of your hops to help provide the aroma you're looking to achieve. For my recipe, I added the ounce of Willamette hops 15 minutes into the boil (45 minutes remaining), another ounce of Cascade 30 minutes in (30 minutes remaining), and the final ounce of Cascade 45 minutes in (15 minutes remaining).
The "Hot-Break"
Please note that you'll have to keep a fairly close eye on the wort during the boil because once it starts to roll and some hops are added proteins begin to build up and the whole thing has a chance to boil over. This is called the “Hot-Break.” Just to be safe, keep a little bit of sanitizer in a spray bottle nearby to spritz the boil in case it bubbles up too high. Once you hit it with the sanitizer it cools right down and the boil resumes. Oh, and here's a Pro Tip: as soon as the wort has entered your kettle, please keep in mind that you need to keep everything sanitized. From this point onward, keep your mixing spoon, thermometer, and anything else that you plan on putting into your wort well-sanitized. Be militant about sanitization.
Cool Things Down
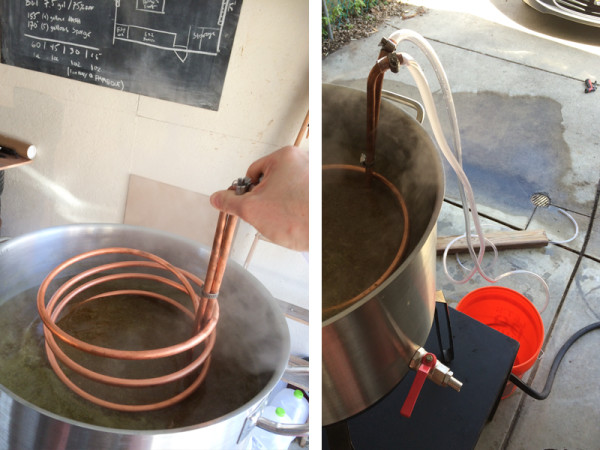
OK, so your wort has boiled for almost 60 minutes, all your hops have been added, and now it’s just about time to begin the cooling process. This is where our KegWorks Wort Chiller comes into play. At 50 minutes into the boil (10 minutes left) you should add the wort chiller into the boiling wort. This provides adequate time to sanitize the chiller and burn off any bacteria that could potentially harm your beer.
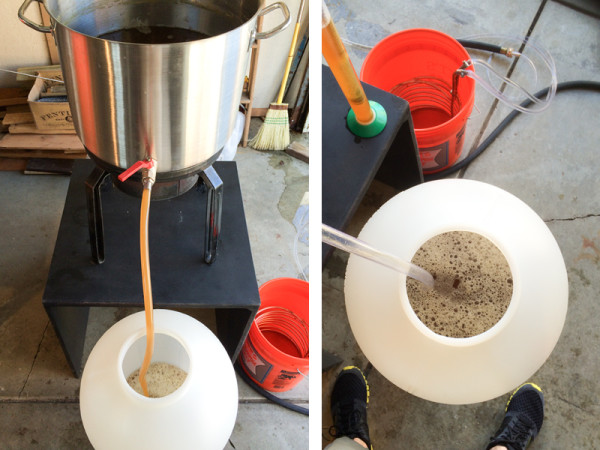
After the 60 minute boil is complete, turn off the flame, and begin flowing water through the copper coils of the wort chiller to cool your wort down as fast as possible. One end of the wort chiller tubing should be hooked up to a hose (to flow the water), and the other end is anchored to the ground where all of the warmed water that circulated through the coils will flow off and trickle away.
The goal is to get the wort down to 70 degrees as quickly as possible. To help speed up the process, I recommend stirring the wort to ensure even cooling. The process should take about 15 minutes, and then it's time to use the kettle valve to drain the cooled wort into the fermenter.
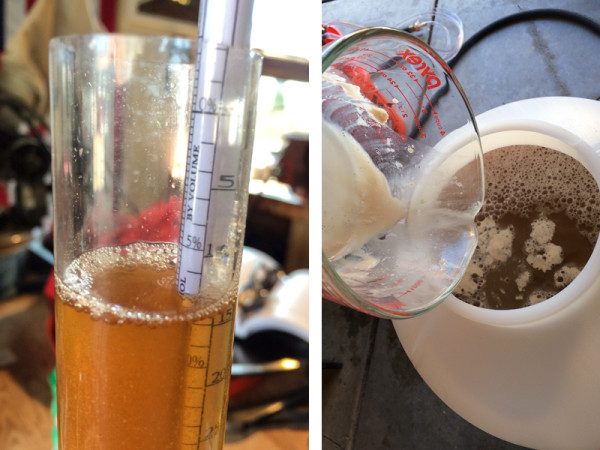
At this point, make sure you pull off a small amount of cooled wort for your hydrometer. This will give you a post-boil estimation of the gravity before fermentation.
Shake It Til You Make It
You're not done quite yet though. Before you pitch your yeast, you need to add oxygen to the wort, an essential element for healthy fermentation. The yeast requires a decent amount of oxygen to convert all of those delicious sugars into alcohols, so the more oxygen you can get into your wort at this point the bigger the feast for your yeast. I took the fermenter by hand (with 5.25 gallons of liquid!) and shook it until I was sweating bullets. If that's too heavy for you, you might want to consider placing the fermenter on the ground and rolling it vigorously. This process of shaking smashes the oxygen in the chamber with the wort, forcing the oxygen molecules to foam up.
Finally, we pitch our yeast into the fermenter and place the fermenter in a cool, dry and dark place (AKA a basement). It's time for the yeast to do its thing.
And that's it for today! We've gotten all the way through the brew day, and all that's left to talk about is how to bottle your sweet brew to share with all your friends and family.
Leave a Comment