

Choosing the right drink rail impacts performance, cleanability, and finish. This guide covers profiles, components, installation basics, and custom solutions to help you get it right.

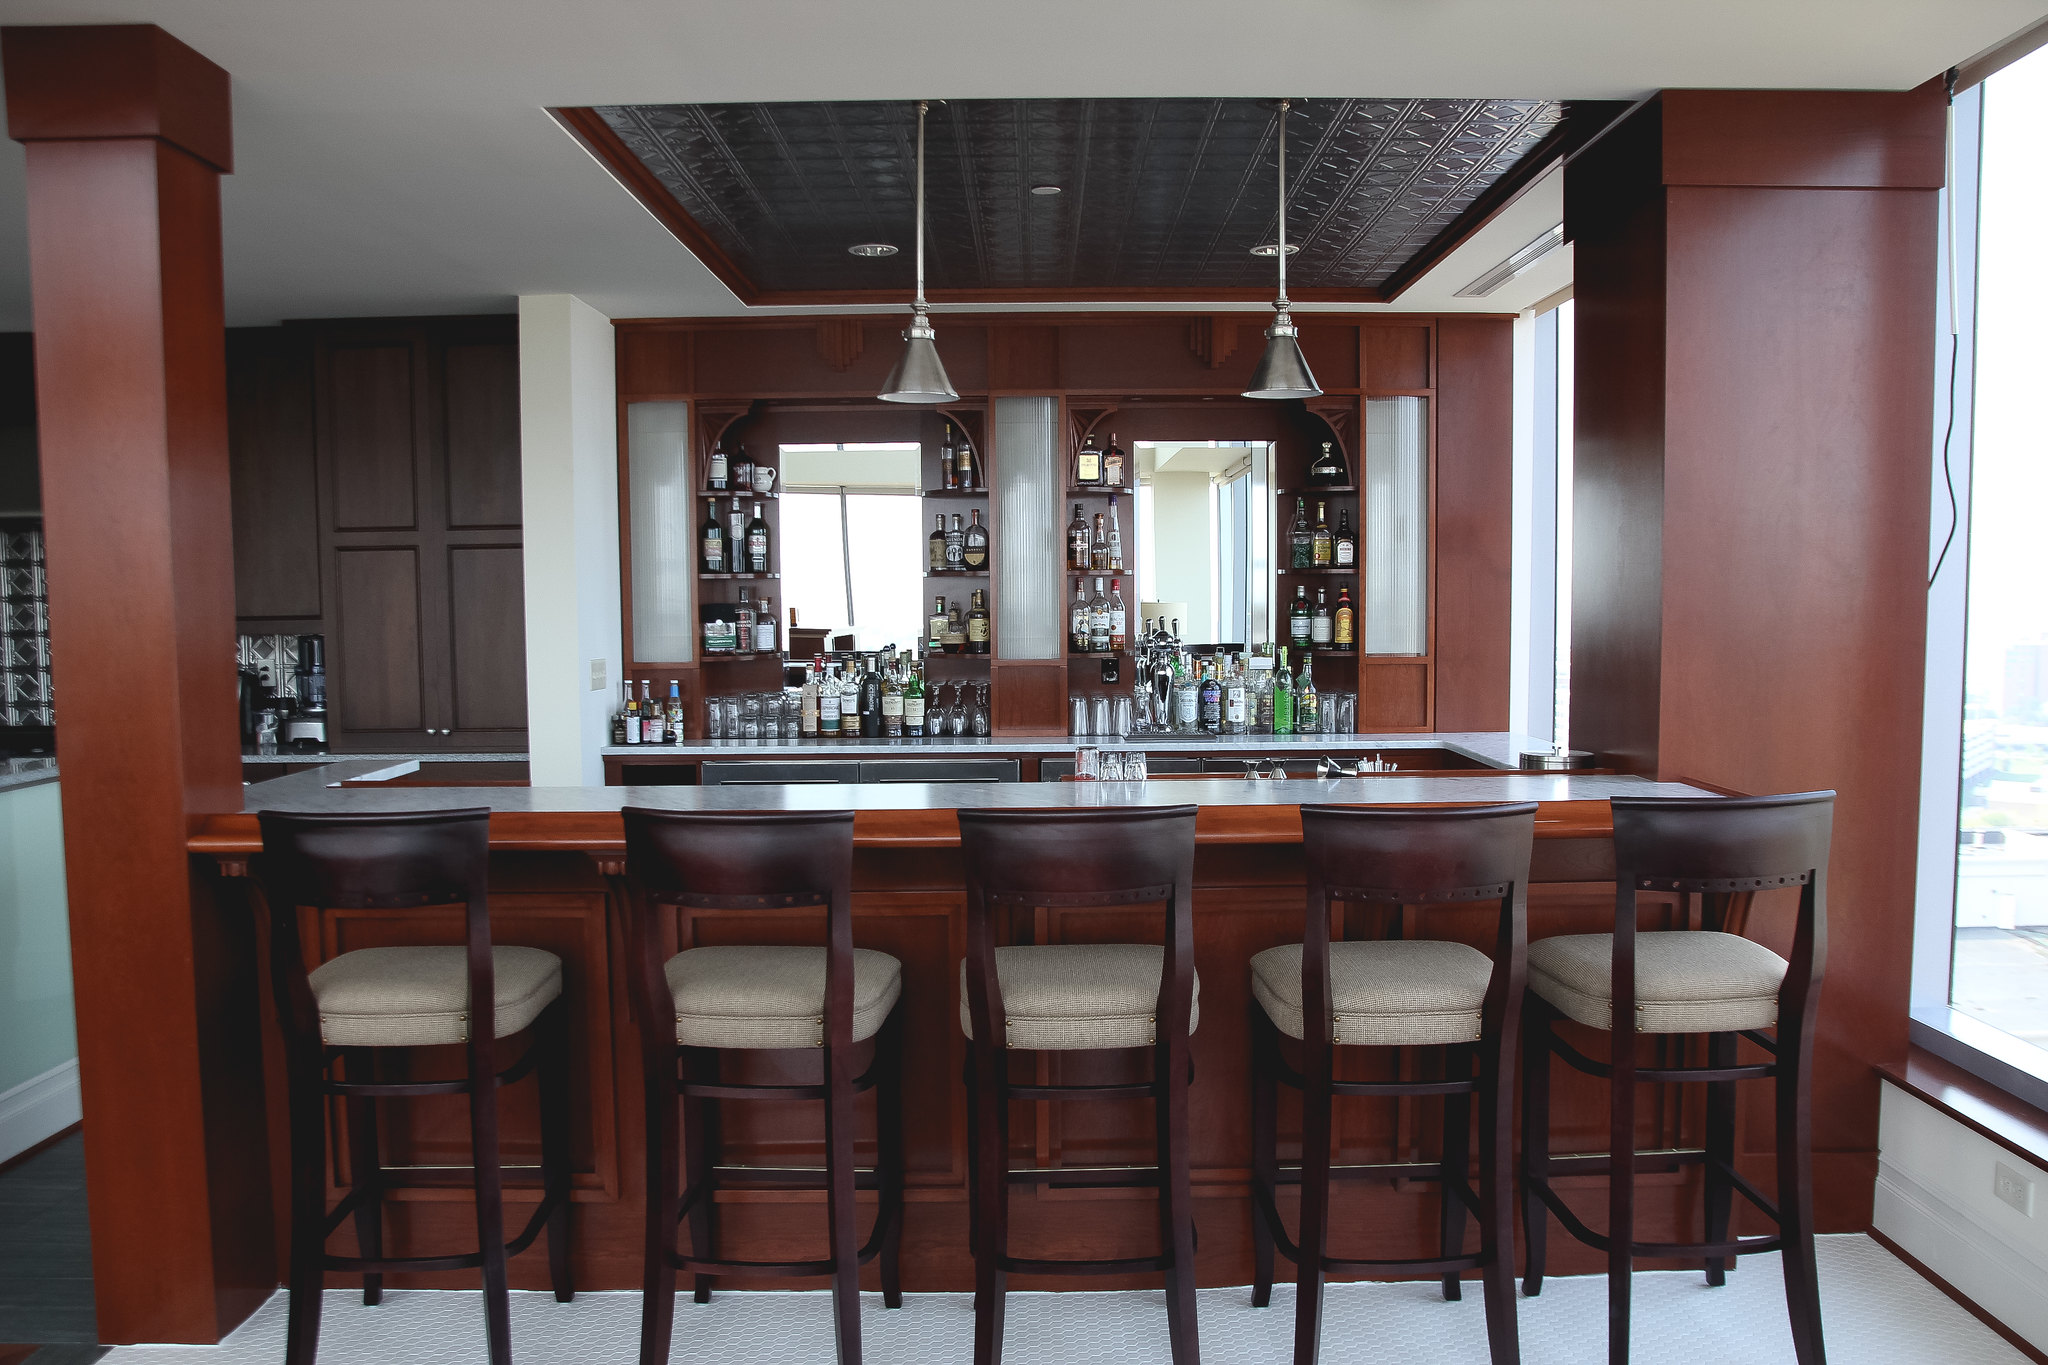
Drink rail is one of the most practical upgrades you can add to a bar. It protects countertops from spills, keeps service areas cleaner during peak hours, and creates a finished edge that feels intentional rather than improvised. Whether you're building a home bar or outfitting a commercial space, choosing the right drink rail profile and installing it properly makes a noticeable difference in both performance and longevity.
What Is a Drink Rail?
Drink rail is a metal channel, typically constructed from stainless steel or brass, installed along the inside edge of a bar top. It collects drips and overflow from poured drinks, helping protect the bar surface and reduce maintenance.
But beyond function, it also improves the visual finish of a bar. When properly integrated, it creates a crisp, defined edge that feels complete and not improvised.
Guide to Drink Rail Profiles
Before ordering a drink rail, select the profile that best supports your project’s priorities. For some designers, the decision is driven by visual continuity, how the rail complements the bar top material, and overall aesthetic. For contractors and operators, the choice may be guided by service flow, surface area needs, or ease of cleaning.
Kegworks offers five drink rail profiles, each with subtle differences in form and function to suit a range of project requirements. Once the profile is selected, measure the amount of drink rail needed for the space and identify the appropriate components to ensure a clean, well-executed installation.
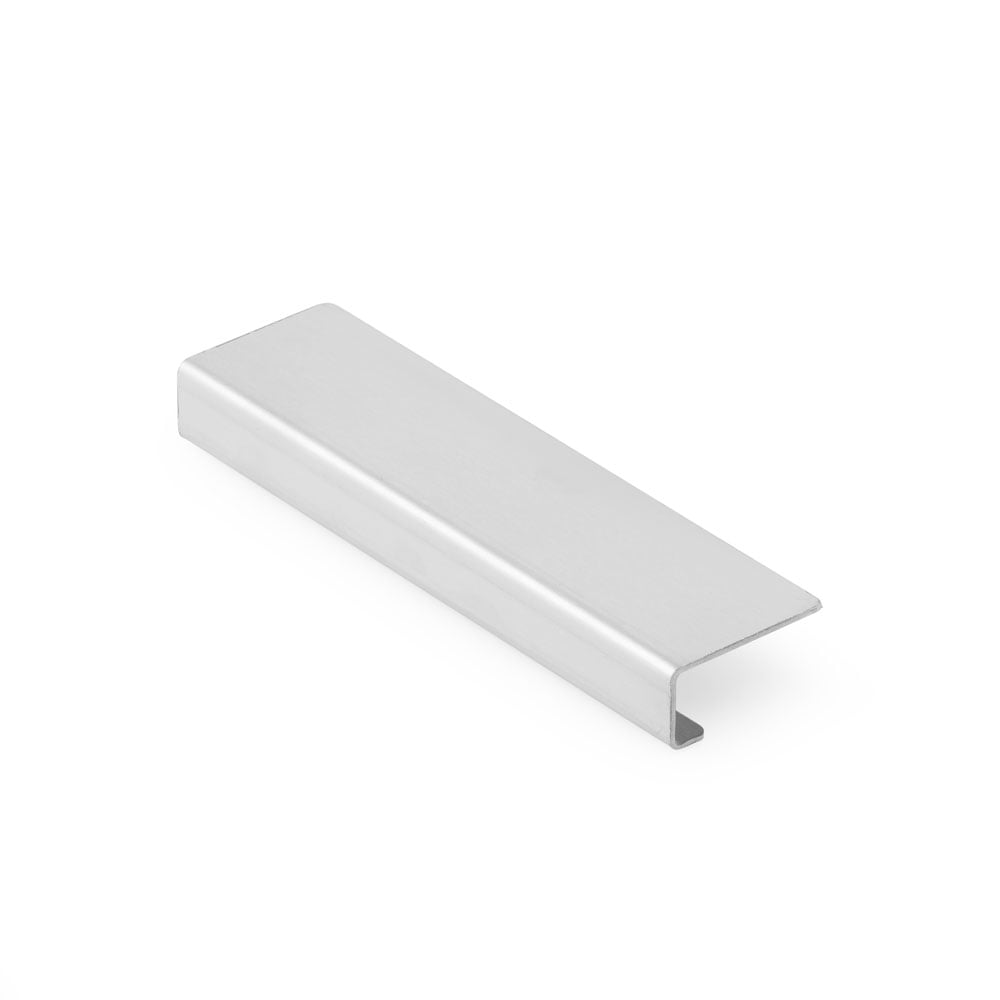
Double Hem
Our most popular and most common profile. A reliable, easy-to-install option for most bar projects.
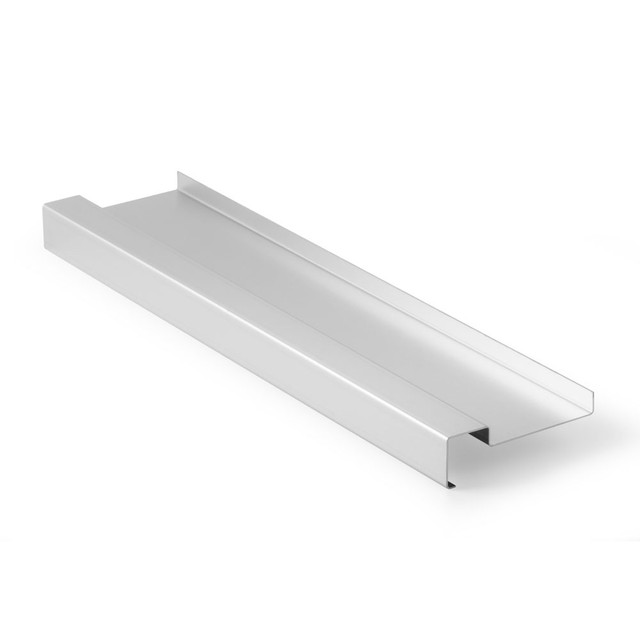
Rectangle
Similar to Double Hem, but provides additional top surface area on the bartender's side when a perforated drip tray insert is installed.
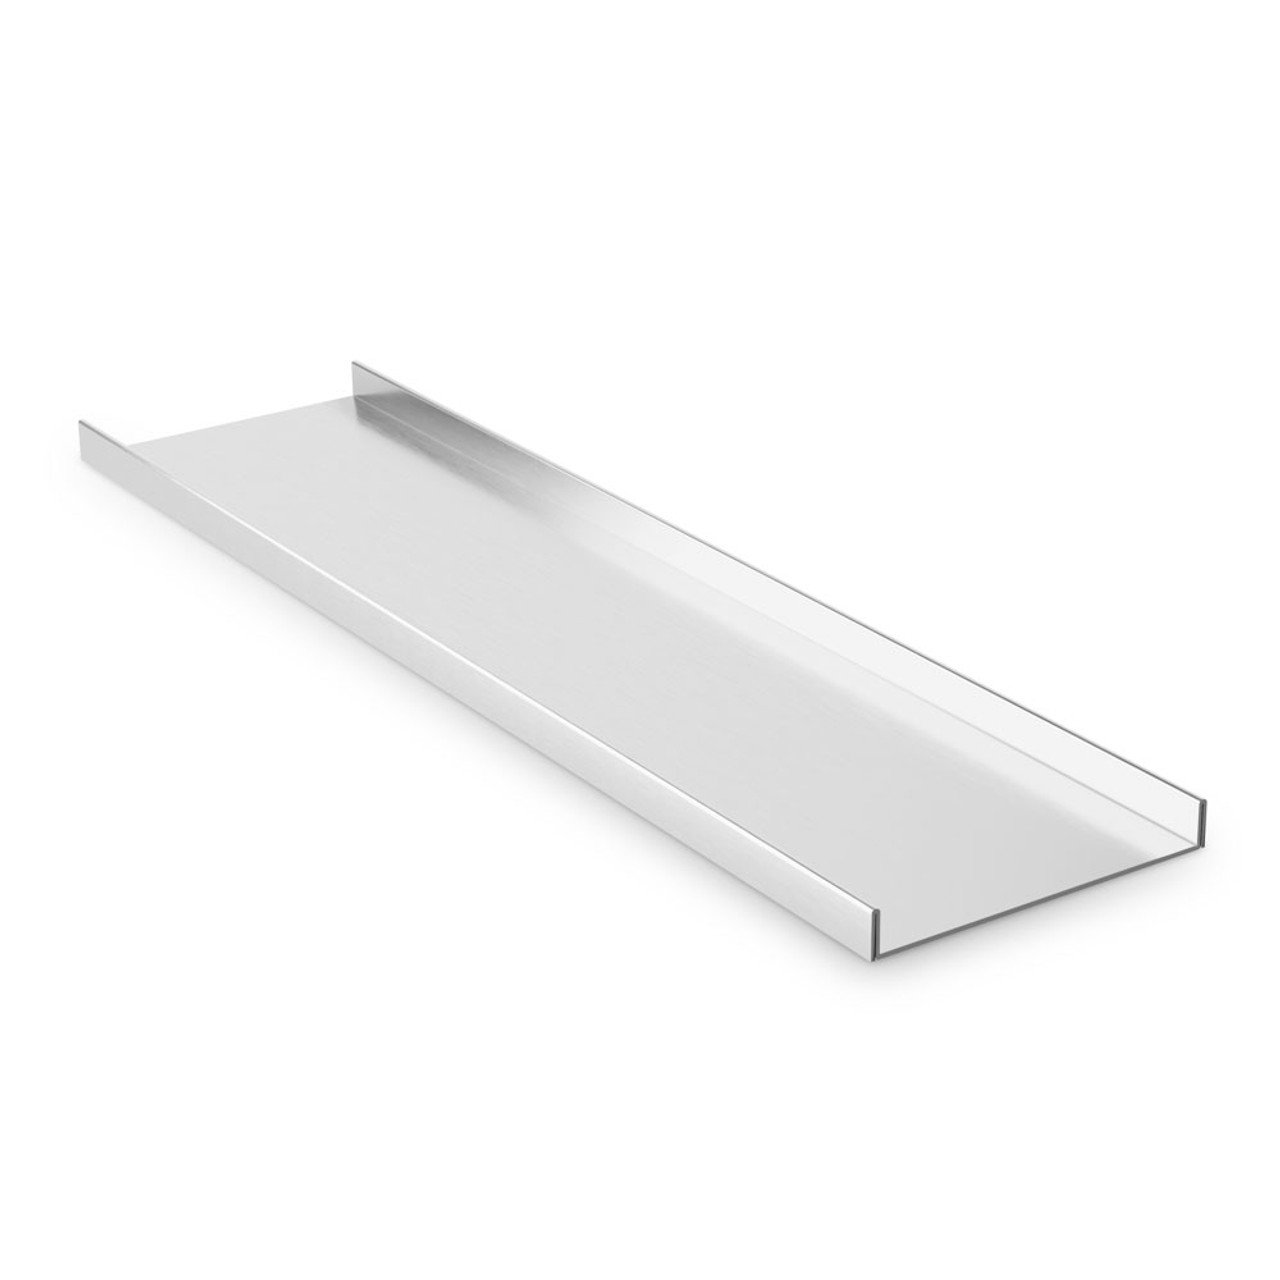
Square
Offers even more surface area than Rectangle. A clean, modern profile with added top space.
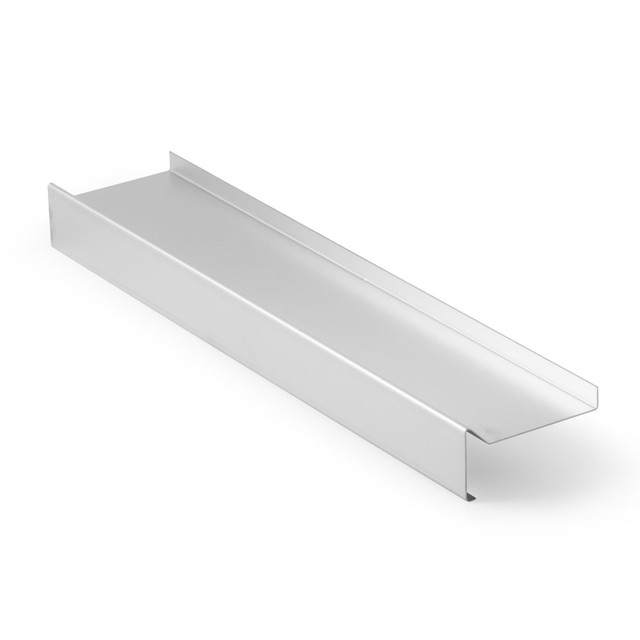
Sloped
Features a sloped edge on the bartender side. Designed to make wiping out crumbs and liquid easier, ideal for bars serving food.
Scupper
Scupper rails are designed to be mounted directly on top of the counter or installed in a routed recess cutout.
Drink rail system components
Drink rail systems are relatively simple to install, but achieving a clean, complete installation requires the right combination of components based on the bar’s layout.
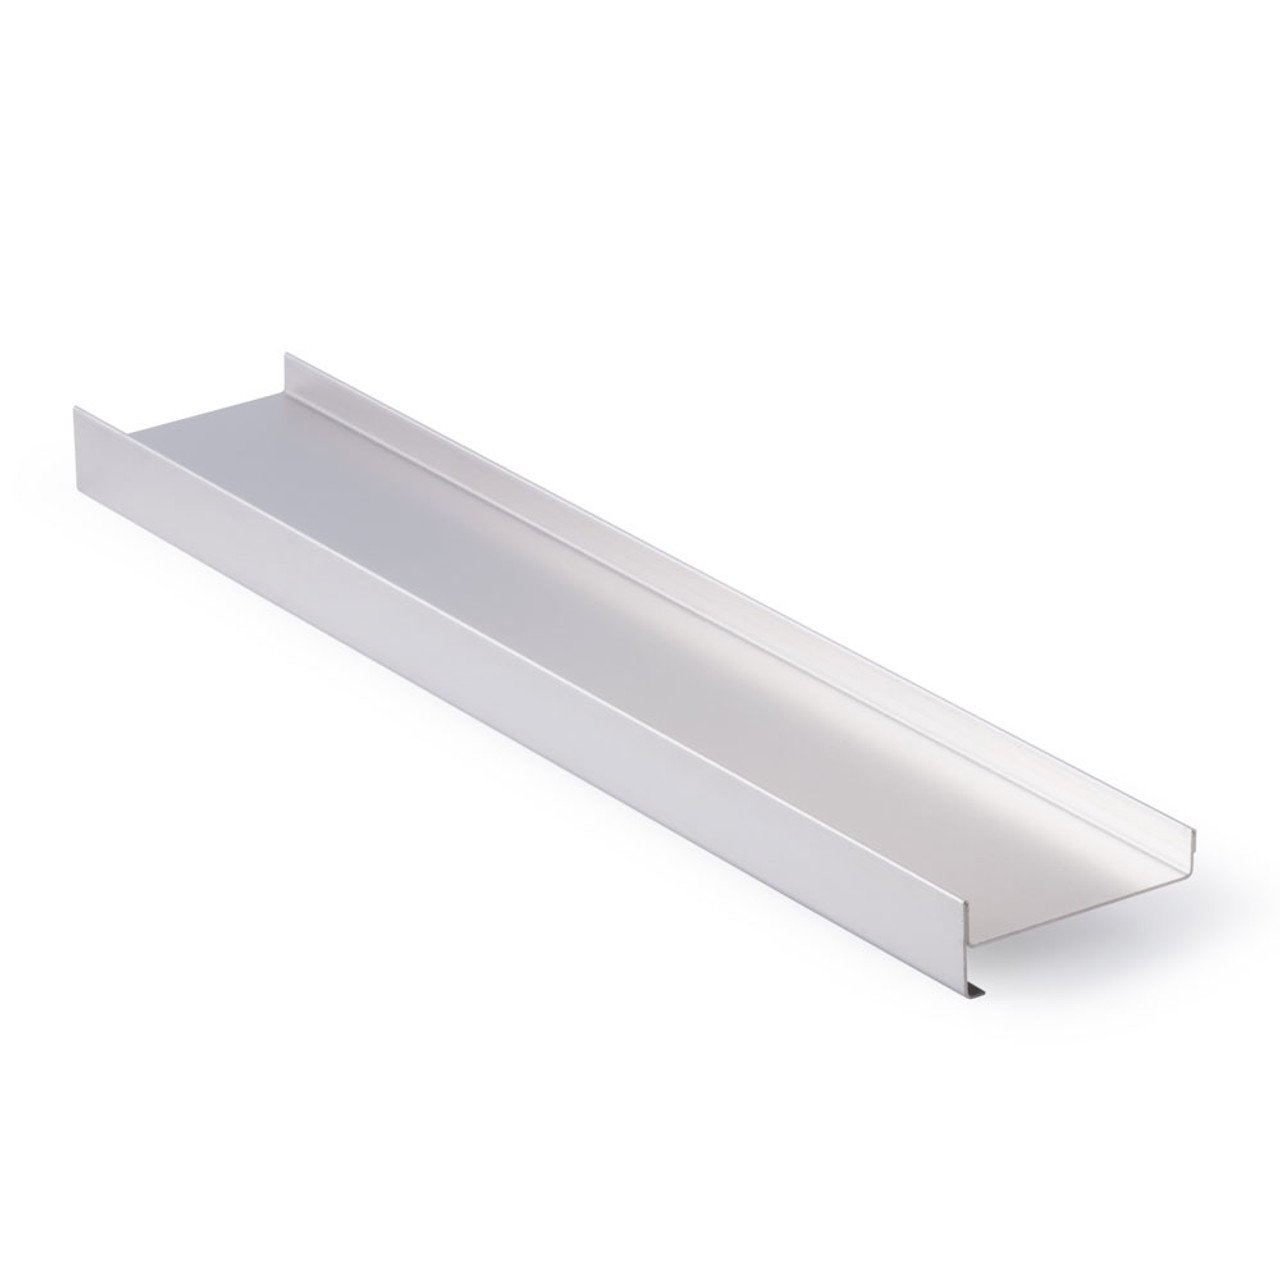
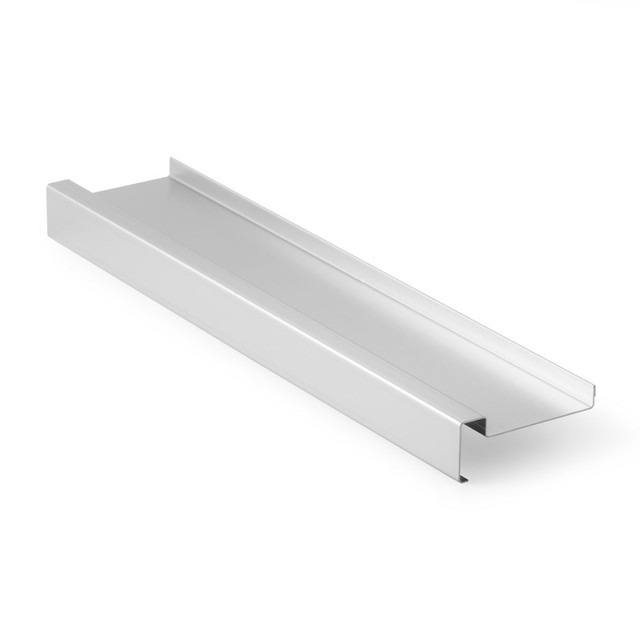
Straight-length drink rail
These are your basic straight pieces of stainless steel drink rail. We offer them in 6’ or 8’ sections. Additional lengths are available by special order.
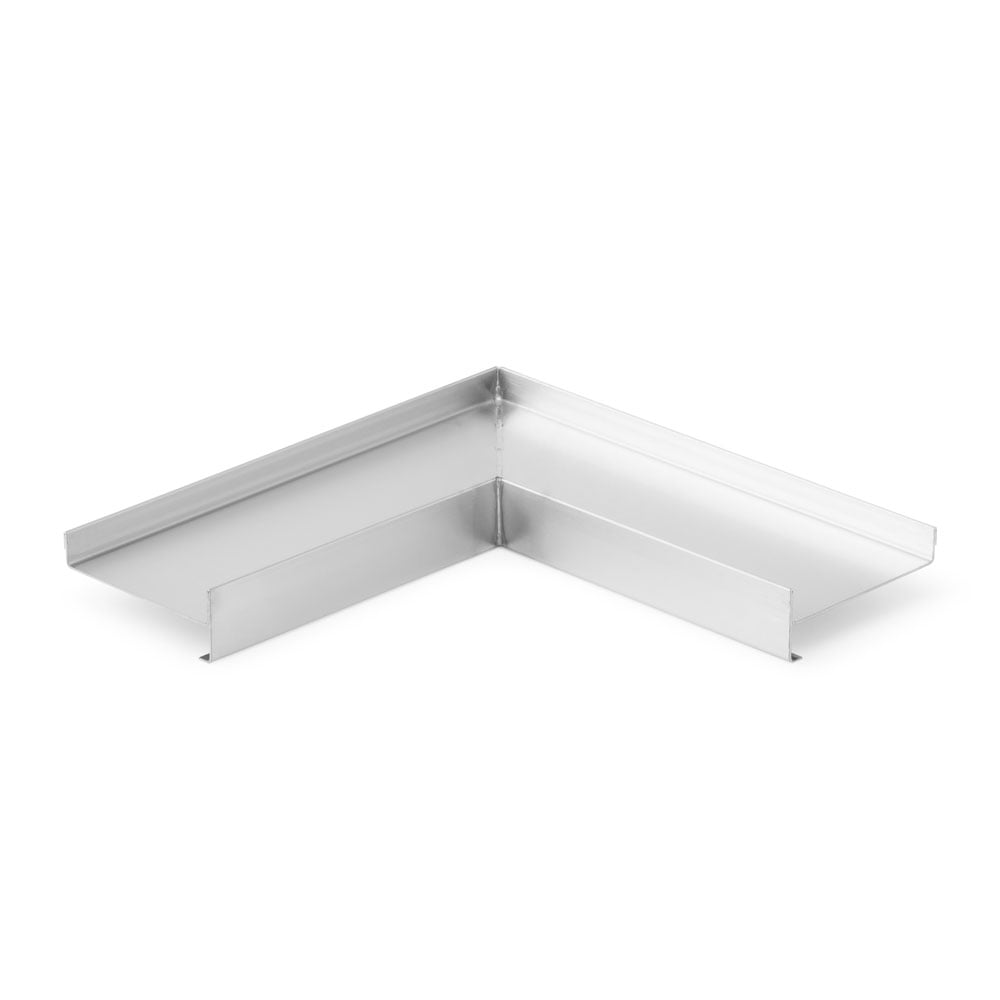
Inside corner piece
These L-shaped sections connect to two pieces of straight-length drink rail at a 90-degree angle. They are perfect for completing drink rails for L or U-shaped bars.
Joint connector
Connectors help to secure sections of drink rail together or to connect straight sections and corner pieces. Applying mildew-resistant clear silicone sealer on the seam between the two sections is recommended.

Left & right end caps
Create a finished look to the ends of your drink rail by attaching an end cap. The drink rail end cap slides easily with no adhesives or screws needed to secure it in place. It also protects anyone walking by your bar from exposed edges.

Perforated drip tray
These perforated drip trays are designed to be inserted neatly in your drink rail to elevate glassware above the channel of the drink rail, while the openings allow drips and spills to fall into the channel below for easy drainage and cleanup.
How to install drink rail
Drink rail installation is a very simple process that does not require any tools unless you need to cut sections of drink rail to fit your bar. You will need a proper adhesive to mount the sections of drink rail and components. The most common method is installing the rail onto an existing countertop with a properly built 4" wide seat beneath it.
Basic Installation Steps:
Step 1: Prepare the seat
Ensure it is level, fully supported, and structurally sound.
Step 2: Apply construction adhesive
Cover the entire seat surface evenly to prevent gaps.
Step 3: Apply caulk along the back edge
This creates a moisture barrier between the rail and countertop.
Step 4: Start with inside corners (if applicable)
Corners establish alignment for the rest of the run.
Step 5: Insert joint connectors and attach straight sections
Press firmly into adhesive and check alignment as you go.
Step 6: Install end caps
Step 7: Seal all seams
Use mildew-resistant clear or color-matched caulk and wipe excess immediately.
Proper sealing is critical. Drink rails are exposed to constant moisture, and sealing seams prevents long-term water damage.
For more detailed installation guidance and best practices, explore our How to Install Drink Rail Guide.
Choosing the Right Drink Rail Finish
Finish selection plays a critical role in both performance and appearance. Unlike foot rail or shelving, drink rail is exposed to constant moisture, frequent cleaning, and daily contact, making durability just as important as aesthetics.
Kegworks offers several finish options to support different project priorities:
Stainless Steel
The most durable and lowest-maintenance option. Ideal for high-traffic environments where longevity is the priority.
Powder Coated Finishes
Available in a wide range of standard and custom colors to match surrounding materials, with moderate wear resistance.
Electroplated Metallic Finishes
Offer the look of brass or other metallic finishes over a stainless steel core for improved durability, and can be topped with a protective Cerakote layer to further enhance durability.
Solid Brass & Brass Alternatives
Provide warmth and character, with varying levels of aging and maintenance considerations. Since solid brass can only be used for straight runs of drink rail and will patina with exposure to liquids, we offer several brass-appearing alternatives to meet the needs of any design.
There’s no single “best” finish, and the right choice depends on how the bar will be used, the acceptable level of wear over time, and the overall design intent. For a deeper look at how finishes influence both durability and design intent, explore our Guide to Drink Rail Finishes.
Custom Drink Rail Options

No two bar projects are the same. Layout constraints, finish palettes, service demands, and fabrication details all influence the final specification. That’s why Kegworks partners with designers, millworkers, and contractors to develop drink rail systems tailored to the specific needs of each project.
Custom options include:
Custom-Fabricated Radius Bends & Widths
We fabricate radius bends to accommodate curved or angled bar layouts, along with custom widths to ensure a precise fit within a bar top channel.
Custom Finishes & Color Matching
Select from our catalog of powder-coated and electroplated finishes, or provide a sample for custom color matching. We work to ensure the drink rail aligns seamlessly with your material palette and overall design intent. You can also add a protective Cerakote coating to electroplated finishes to protect it from constant moisute exposure and wear and tear.
Custom Drip Trays & Integrated Features
Specify drip trays with custom-cut patterns or laser-engraved logos and designs. We can also incorporate drain openings for removing liquids or integrate glass rinsers to support service flow.
Material & Gauge Customization
Our standard drink rail is fabricated from 18-gauge stainless steel, but we can accommodate thicker gauges or alternative specifications to meet structural, durability, or project requirements.
If your project requires a tailored solution, submit a custom quote request, and our team will collaborate with you to bring it to life.
Drink rail is a practical upgrade that protects your bar top, simplifies cleanup, and creates a finished, professional look.
Browse our complete selection of drink rail systems and components, or contact our team to discuss the right solution for your project.

Dave Buchanan
Dave Buchanan has been the Content Writer for Kegworks since June 2019. He has a fondness for craft beer that developed while working for a local beer distributor. Dave also worked for an area sports talk radio station for several years, and continues his broadcasting work as a motorsports announcer and indoor lacrosse reporter.
Leave a Comment