
A lesson in tap handle making from a master wood craftsman.
While there are many tap handles out there that are available to purchase, featuring something as handcrafted as your beer atop of the draft system adds something extra to the brew (and your bar).
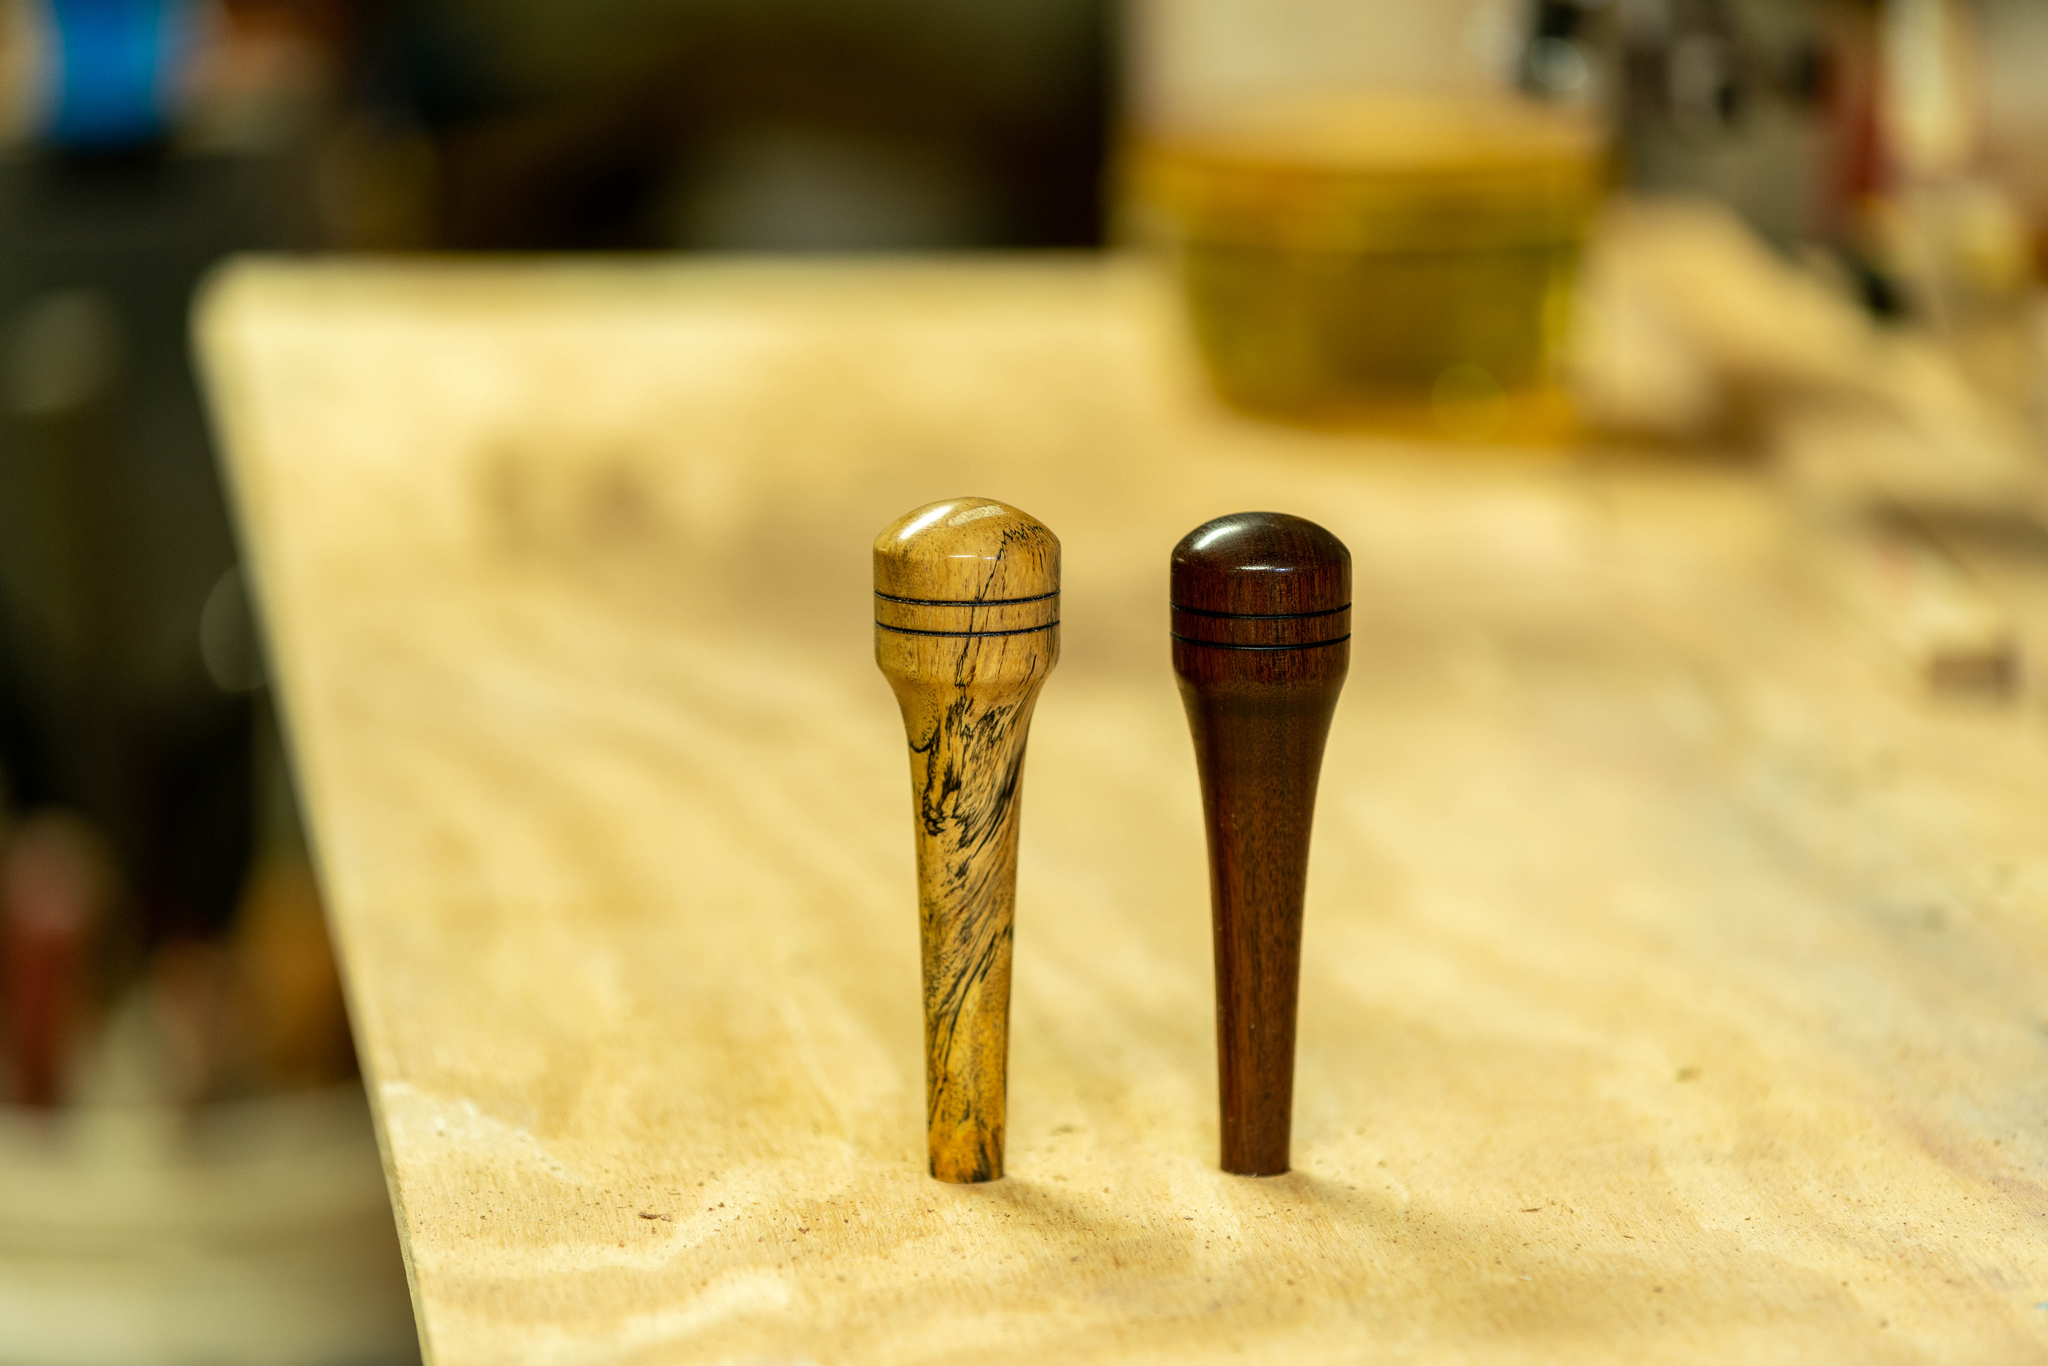
Insert KegWorks’ master craftsman, Joe Wiesten. He’s the man behind our wood beer tap handle collection. In this video, Joe walks us through his wooden tap handle making process and the steps he takes to ensure that every piece matches up to his standard of quality and artistry - and how you too could woodturn a tap handle piece.
How-To Make A Wooden Beer Tap Handle
Step 1: Cut the wood to size.
Cut your blank to the desired length of your wood beer tap handle, adding an extra ⅛ .
Step 2: Drill space for the threaded insert.
Use a drill press with “x” sized drill bit. After drilling, glue your threaded insert in, as well as hammer it.
Step 3: Glue and let dry.
Let the sized blank with glued insert air dry for 24 hours.
Step 4: Rough turn it on the lathe.
Screw your air dried blank on the lathe and begin to rough turn it to the desired shape of your wood tap handle.
Step 5: Sand to perfection.
After rough turning it, begin to sand out any imperfections.
Step 6: Coat in walnut oil and let drip dry.
Once removed from the lathe, dip your tap handle in oil and let drip dry overnight. Walnut oil is recommended because it is the clearest oil and dries the hardest, plus it is a natural product.
Step 7: Cure the finish with friction polish.
Put your drip dried wood tap handle back on the lathe and cure the finish with friction polish at high speed. This final coat will add soft finish to the wood tap handle.
Leave a Comment